CSV User Import for Cloud
1.Introduction:
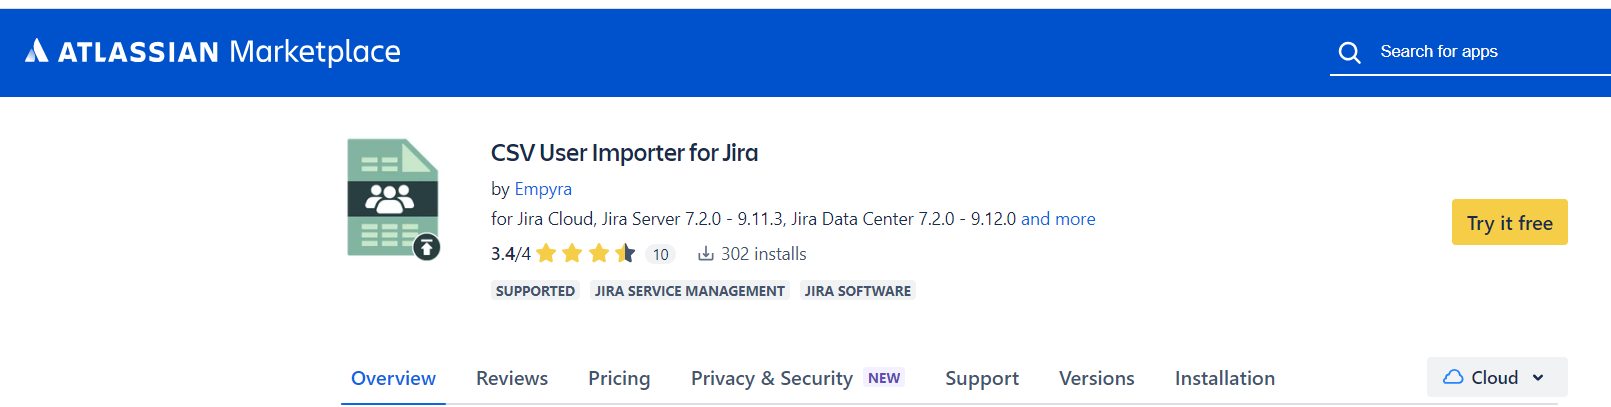
This Atlassian Marketplace App can be used to create JIRA user in bulk by importing their details in a CSV file. Below is a screenshot of the plugin on Atlassian Marketplace.
2. App Installation:
Step 1: Login as JIRA administrator. Go to -> Administration -> Add-on -> Find Add-on
Step 2: Find the "CSV User Importer" and click "Install".
3. Bulk users import using CSV steps:
Step 1: Go to Jira Home → Click on Apps drop down -> Click on “Import Users”

Step 2: Enter your Email address and API Token. You cannot access the other tab without entering the right credentials.

Step 3: Once you fill both the fields, click on "Validate"

Step 4: If you have entered the right credentials you will see "Success" message and you can continue using the other tab.

Step 5: If you enter wrong credentials you will see "Error" message which will restrict you from accessing other the tab.

Step 6: Once you get the "Success" message in "Validation" tab, click on "CSV Upload".

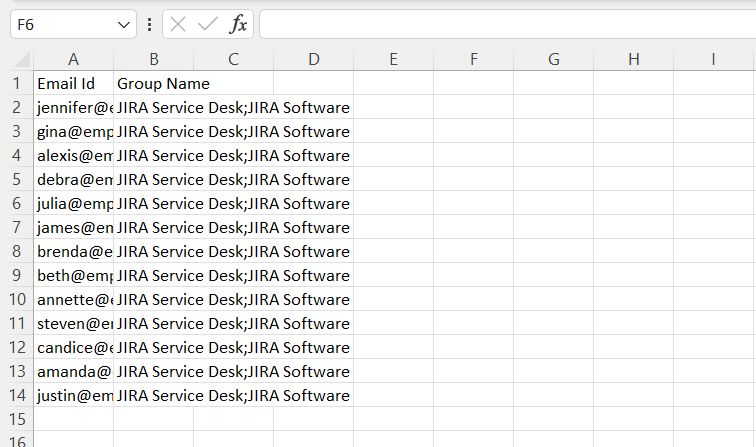
Step 7: The file has to be in a CSV format, there is one field that are required for every import that is Email ID, group name is not mandatory. Use ";" to separate the group names.
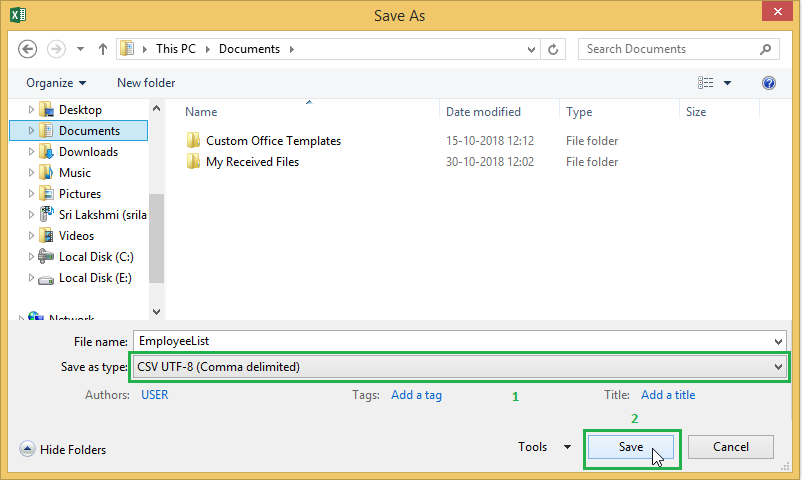
Step 8: If you are using any other language except English please save file as a CSV UTF-8(Comma delimited) format file.
Step 9: Choose the file from the system and click on the “Next” button.

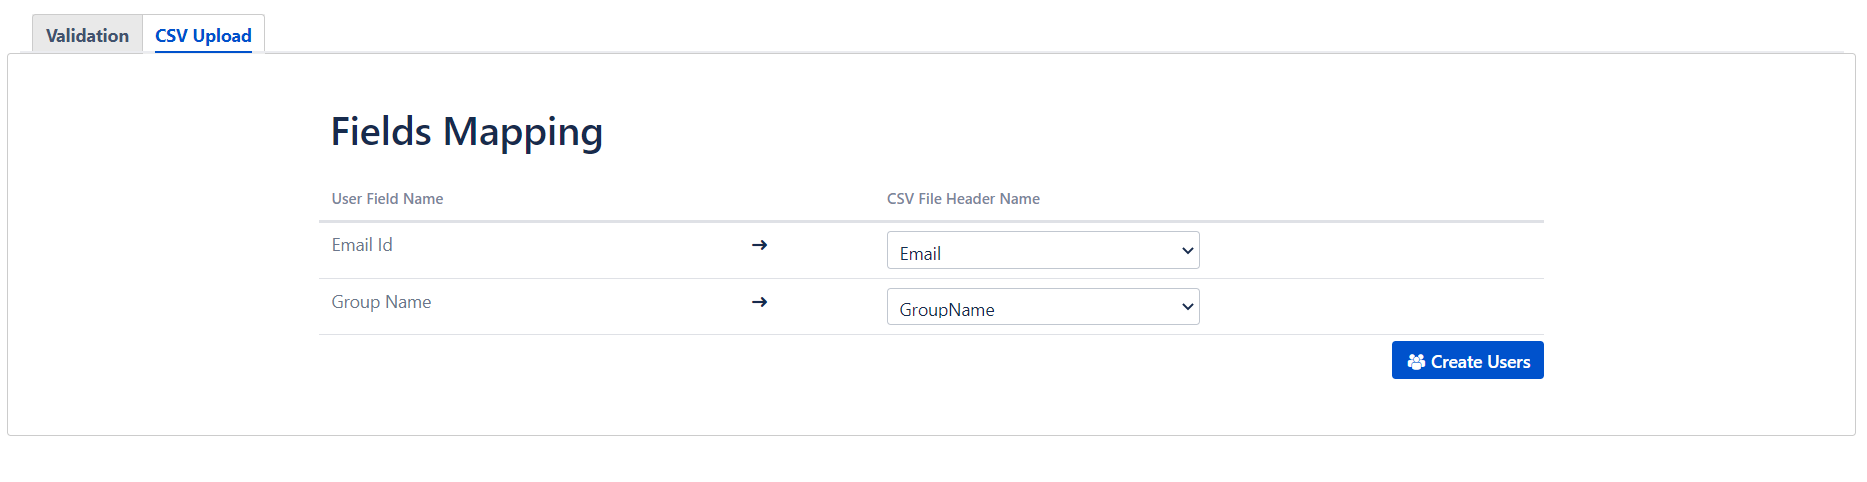
Step 10: Map the JIRA user details with CSV file header name. Click on the “Create Users” button.
Note-
- One CSV field cannot be mapped twice.
- If a user wants to assign default group names to the user then select "Don't map this field" option to "Group Name".
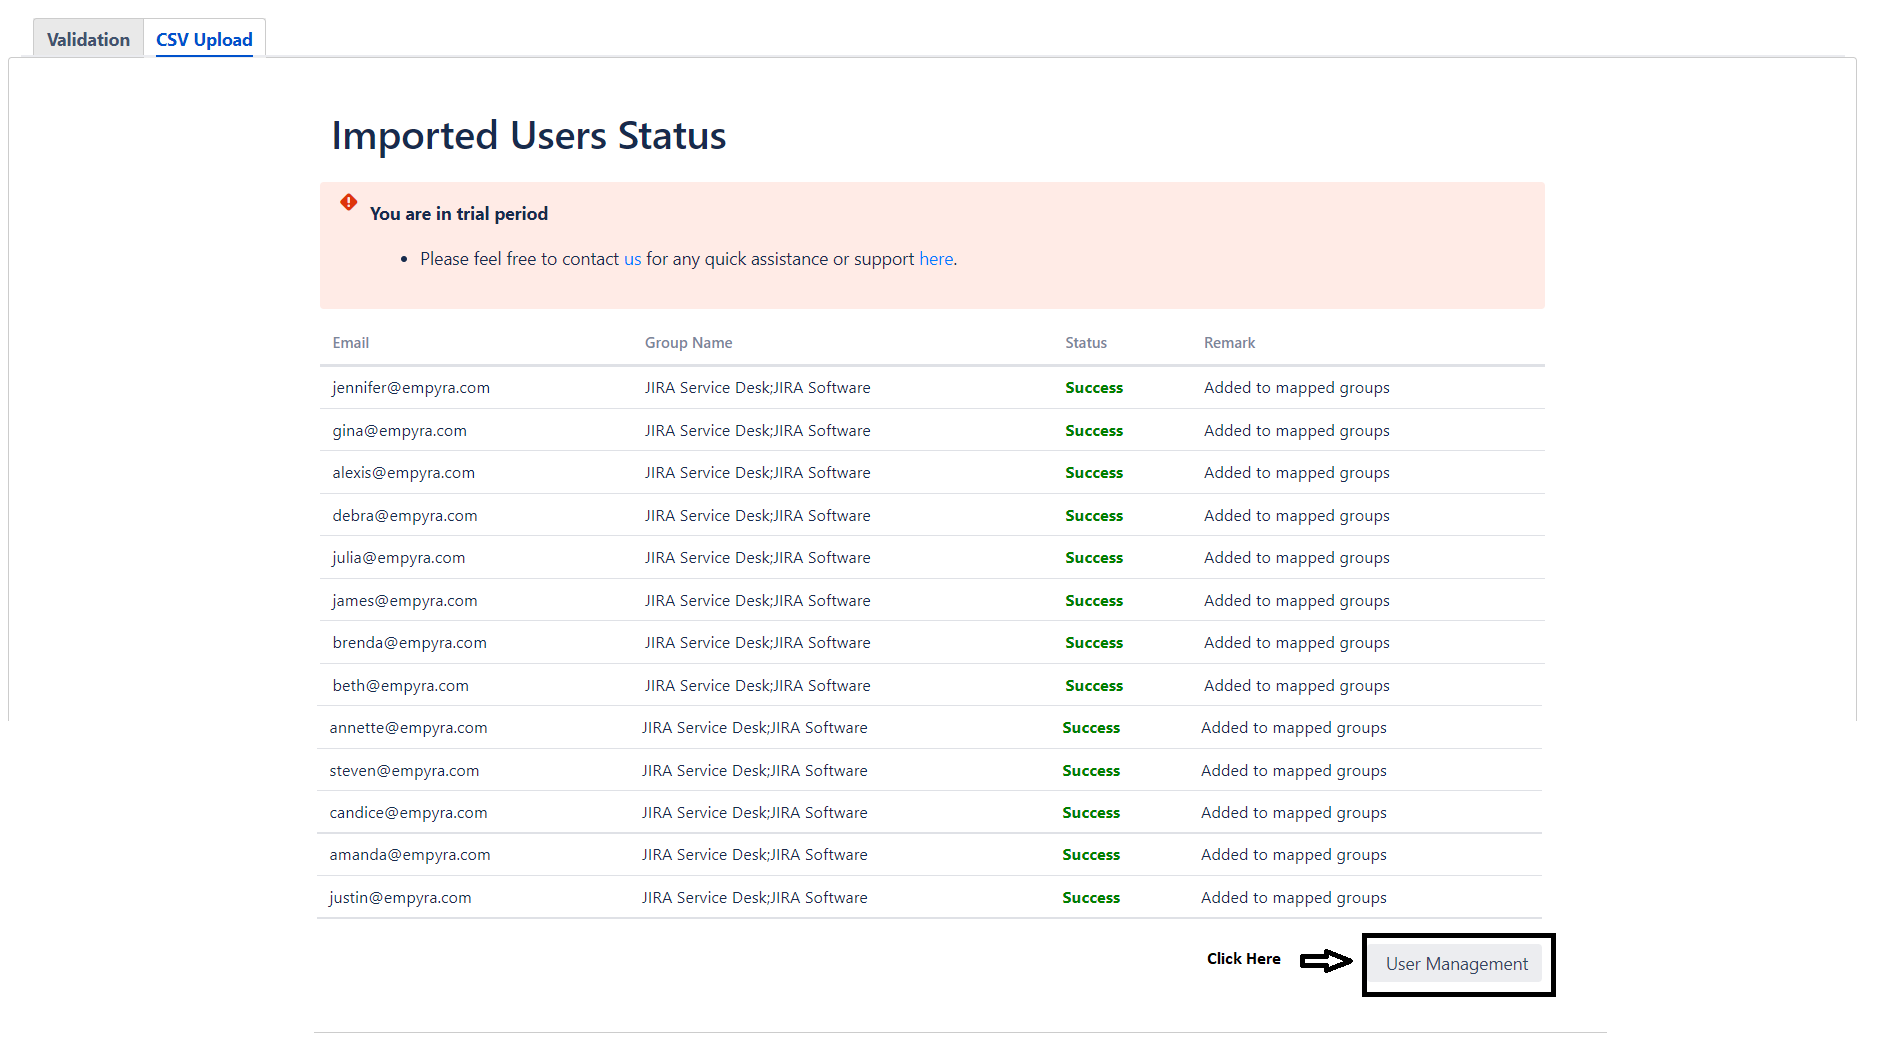
Step 11: Imported Users Status page will display the status of user creation
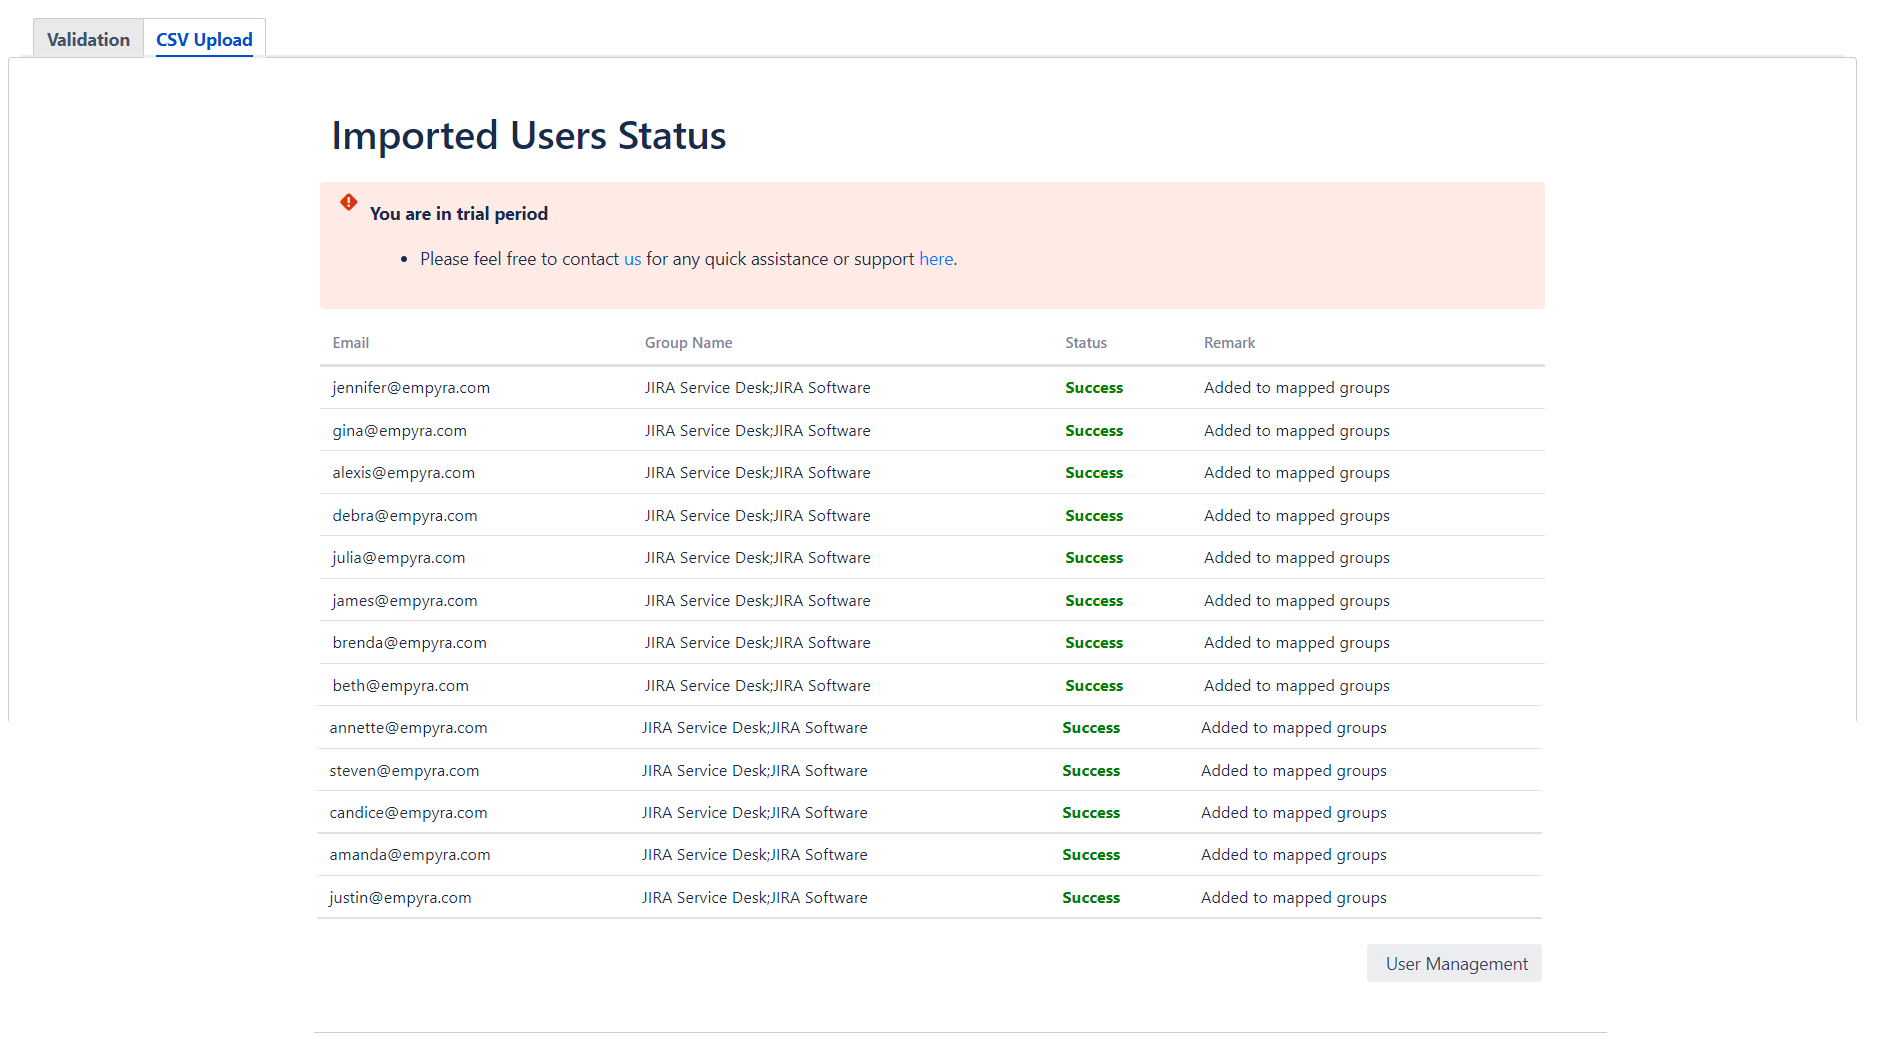
Step 12: Click on the “User Management” to see all newly created user names.
4. Versions:
| Versions | Description |
|---|---|
| v 1.0 | New release for cloud support |
5. Sample CSV format file:
6. Versions:
1.0.1-AC
- Atlassian Cloud Connect
1.0.2-AC
- New Tab functionality