1. Introduction
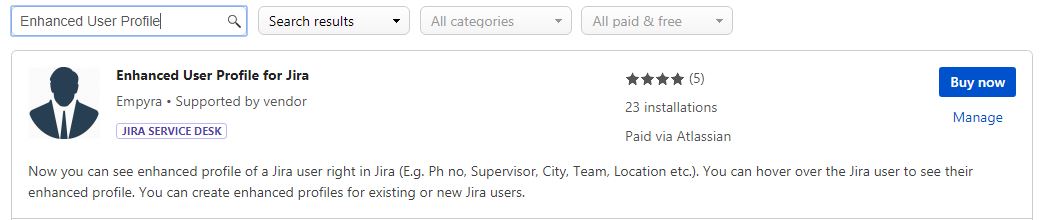
This Atlassian Marketplace App can be used to add additional profile details using CSV file. The added profile details can be viewed in issue viewer.
2. Application Installation
Step 1: Login as JIRA administrator
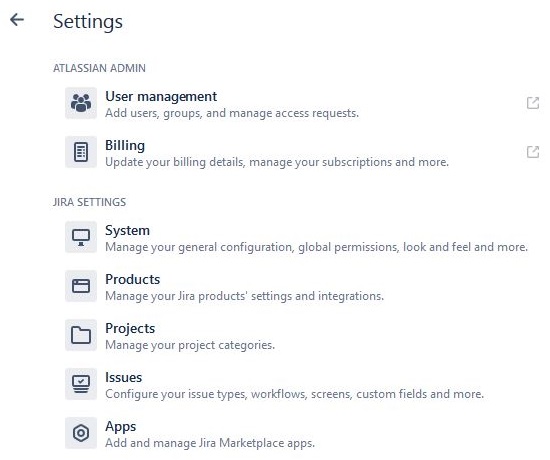
Step 2: Go to → Jira Settings → Apps → Find Apps
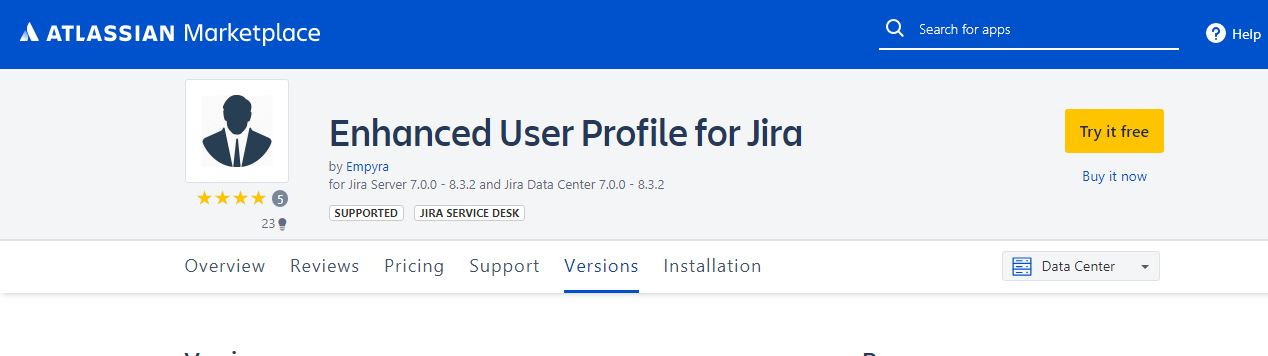
Step 3: Find the "Enhanced User Profile for Jira" and click "Try it free"
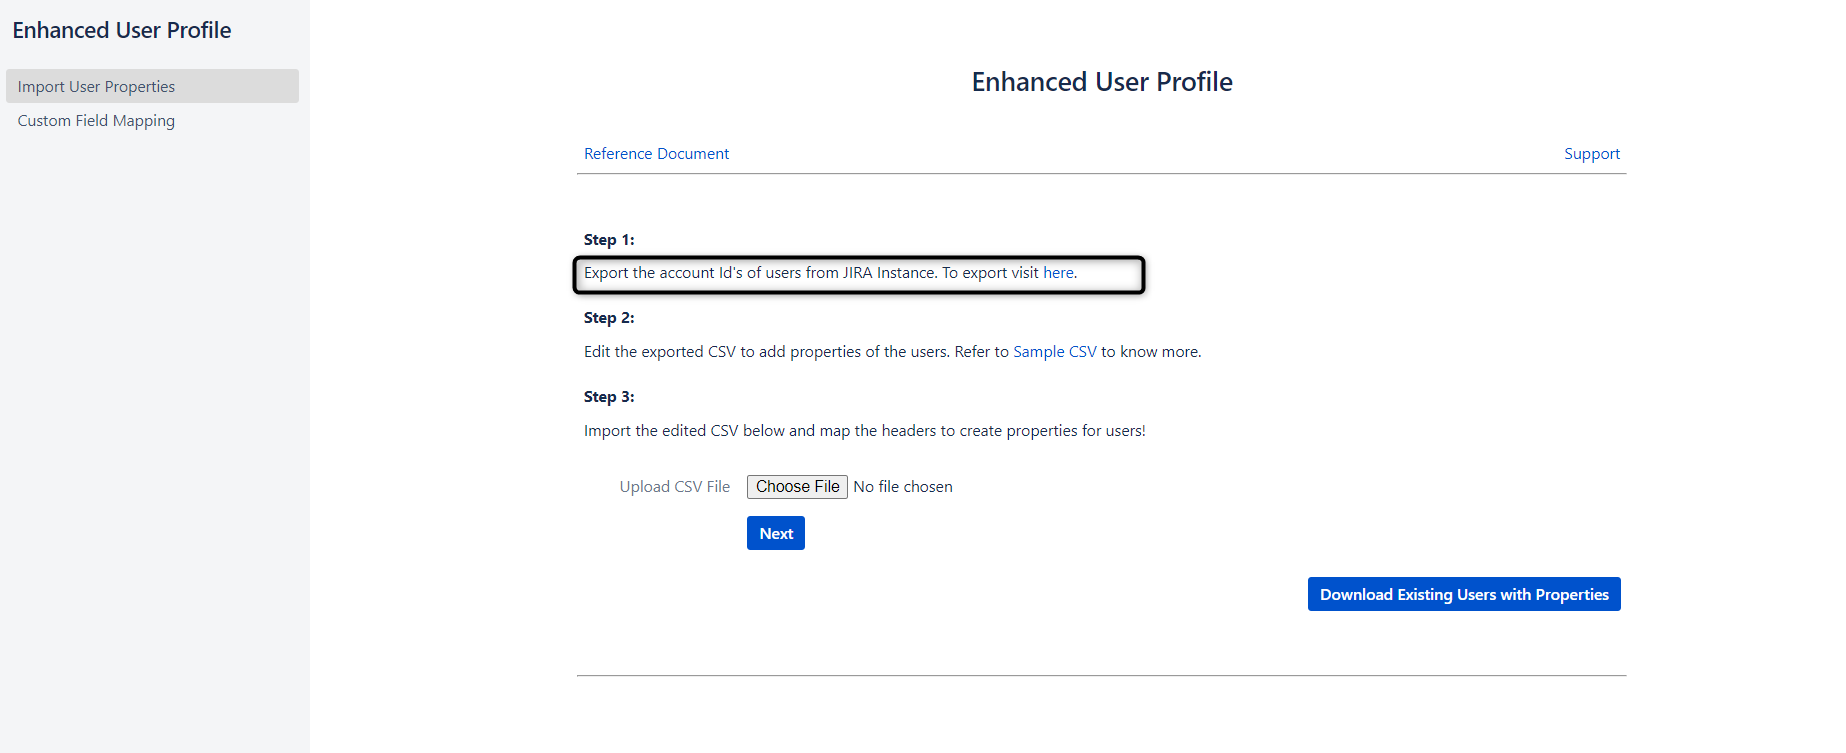
3.Exporting Users for Account Id to Create the CSV
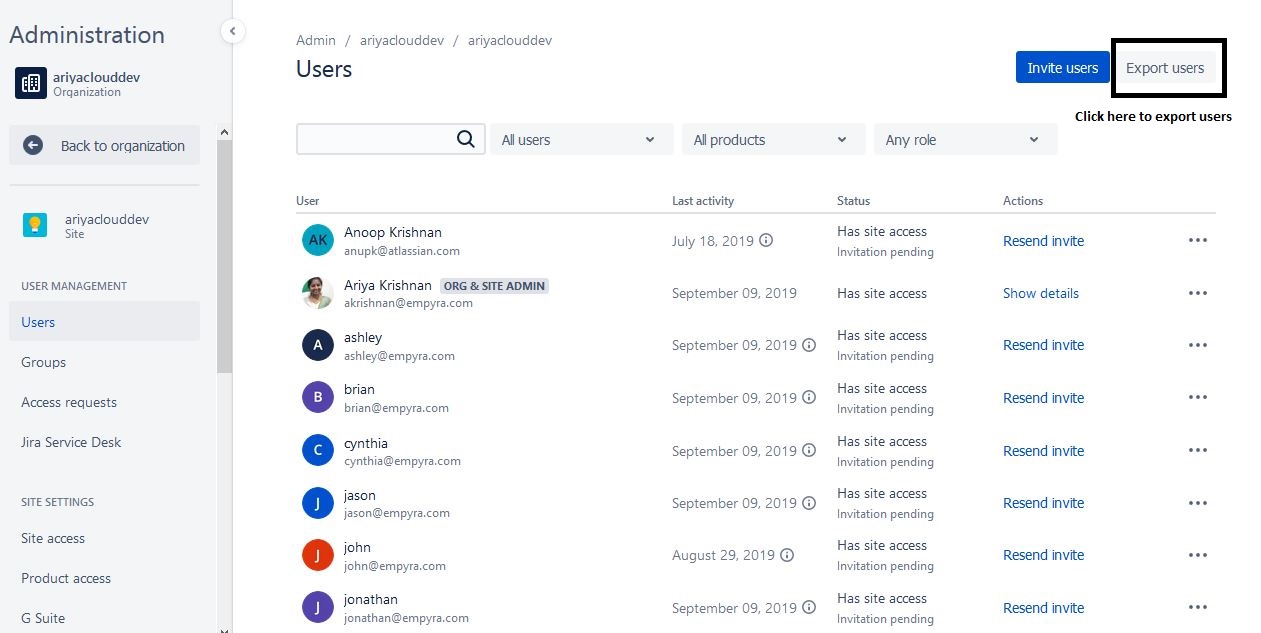
Step 1: Go to Settings → User management
Step 2: Click the "Export Users" tab to export the users. It will export all the users with the details
4. Updating already existing users with properties
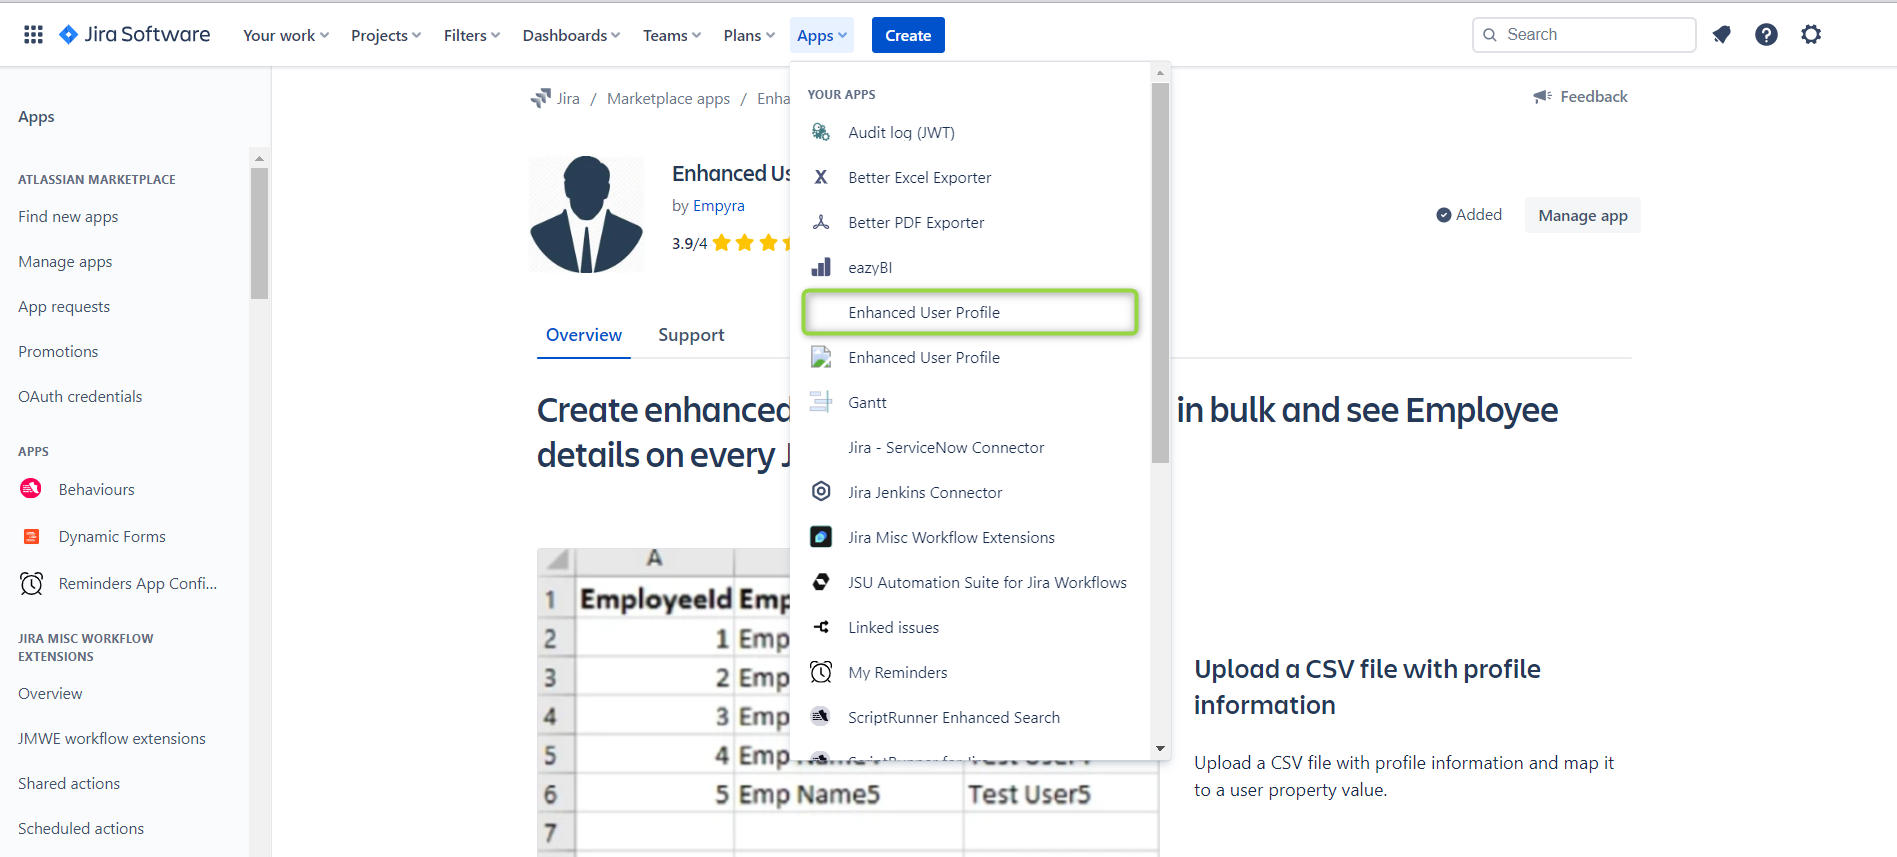
Step 1: Go to Jira Home → Click on Apps drop down -> Click on “Enhanced User Profile”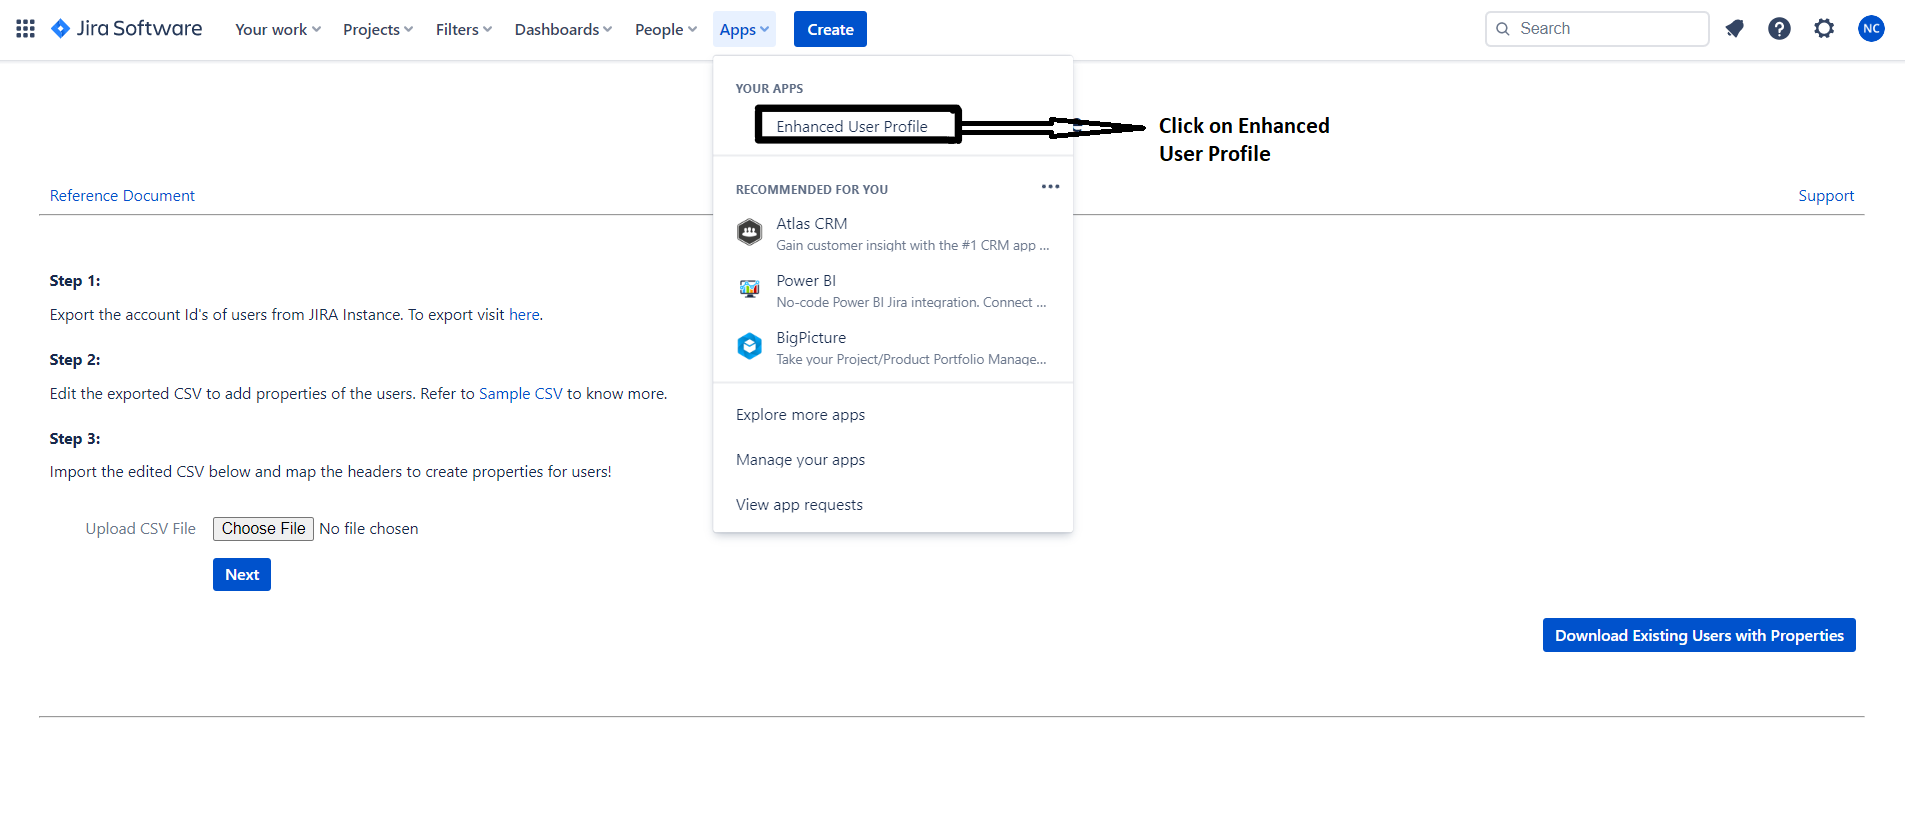
Step 2: The file has to be in a CSV format, there are two fields , Account Id and the properties which are going to be added to the user are required for creating the properties for the user

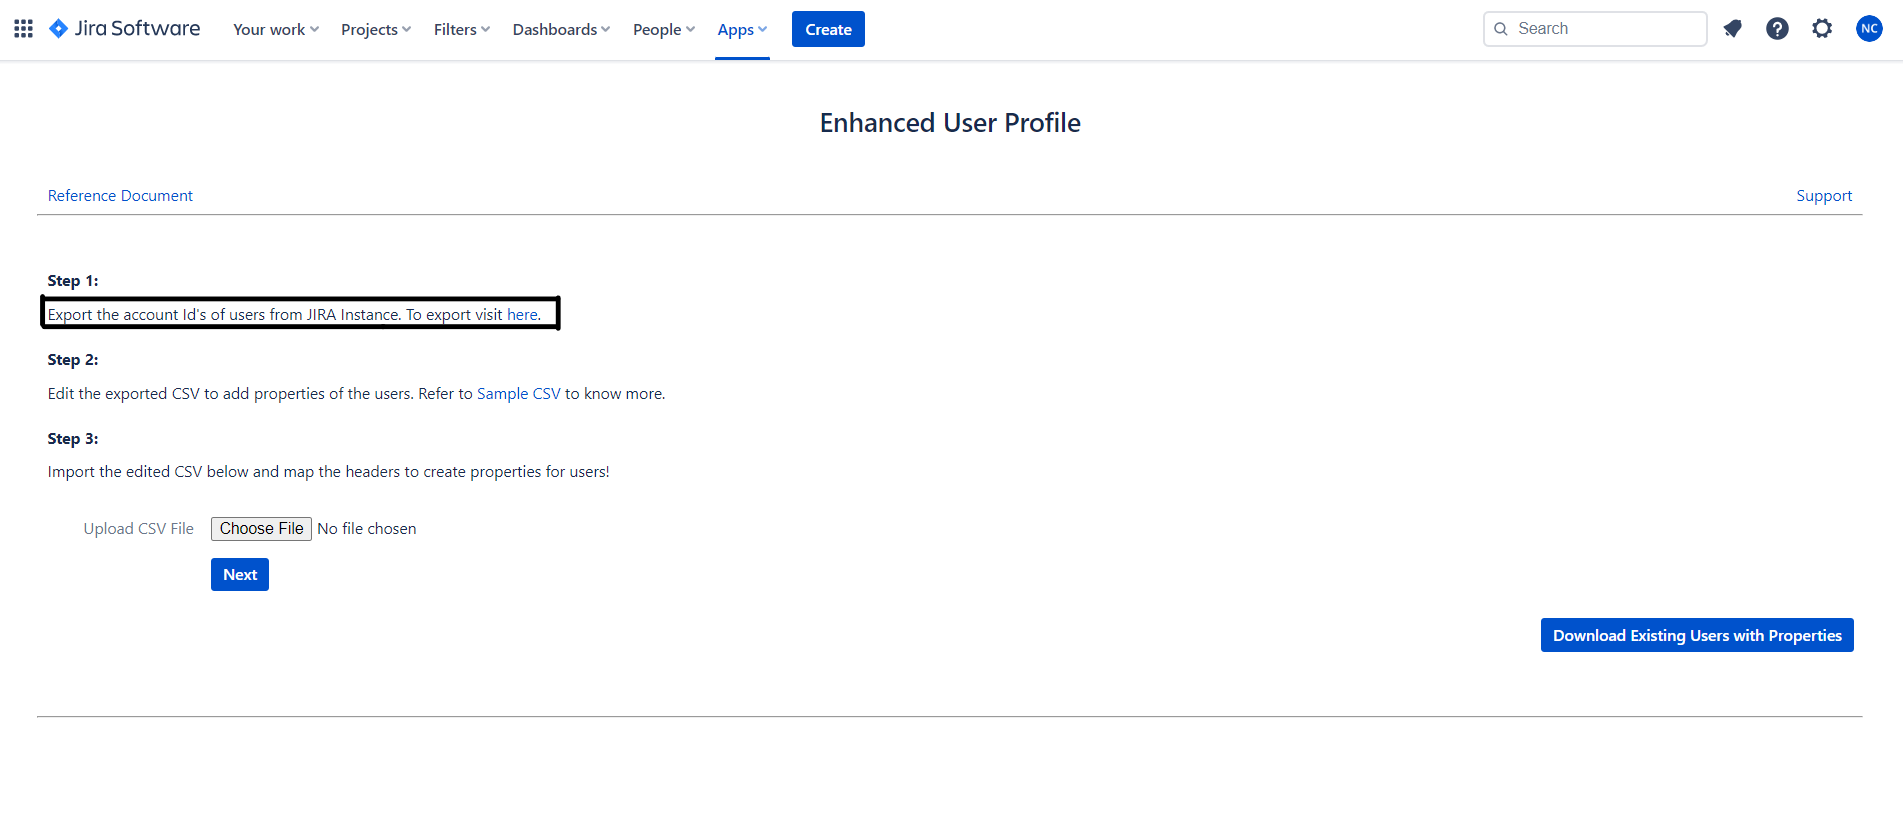
Step 3: Account Id of the users can be exported from the User Management page
Step 4: Sample CSV file (Refer this) Properties.csv
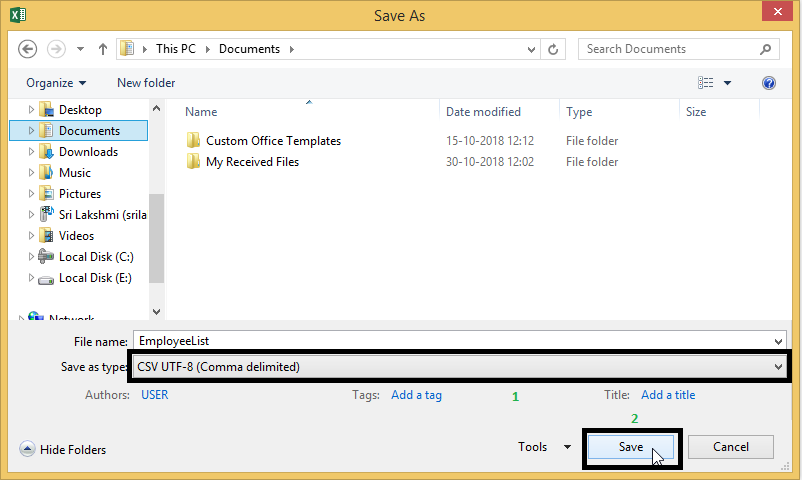
Step 5: If you are using any other language except English please save file as a CSV UTF-8(Comma delimited) format file.
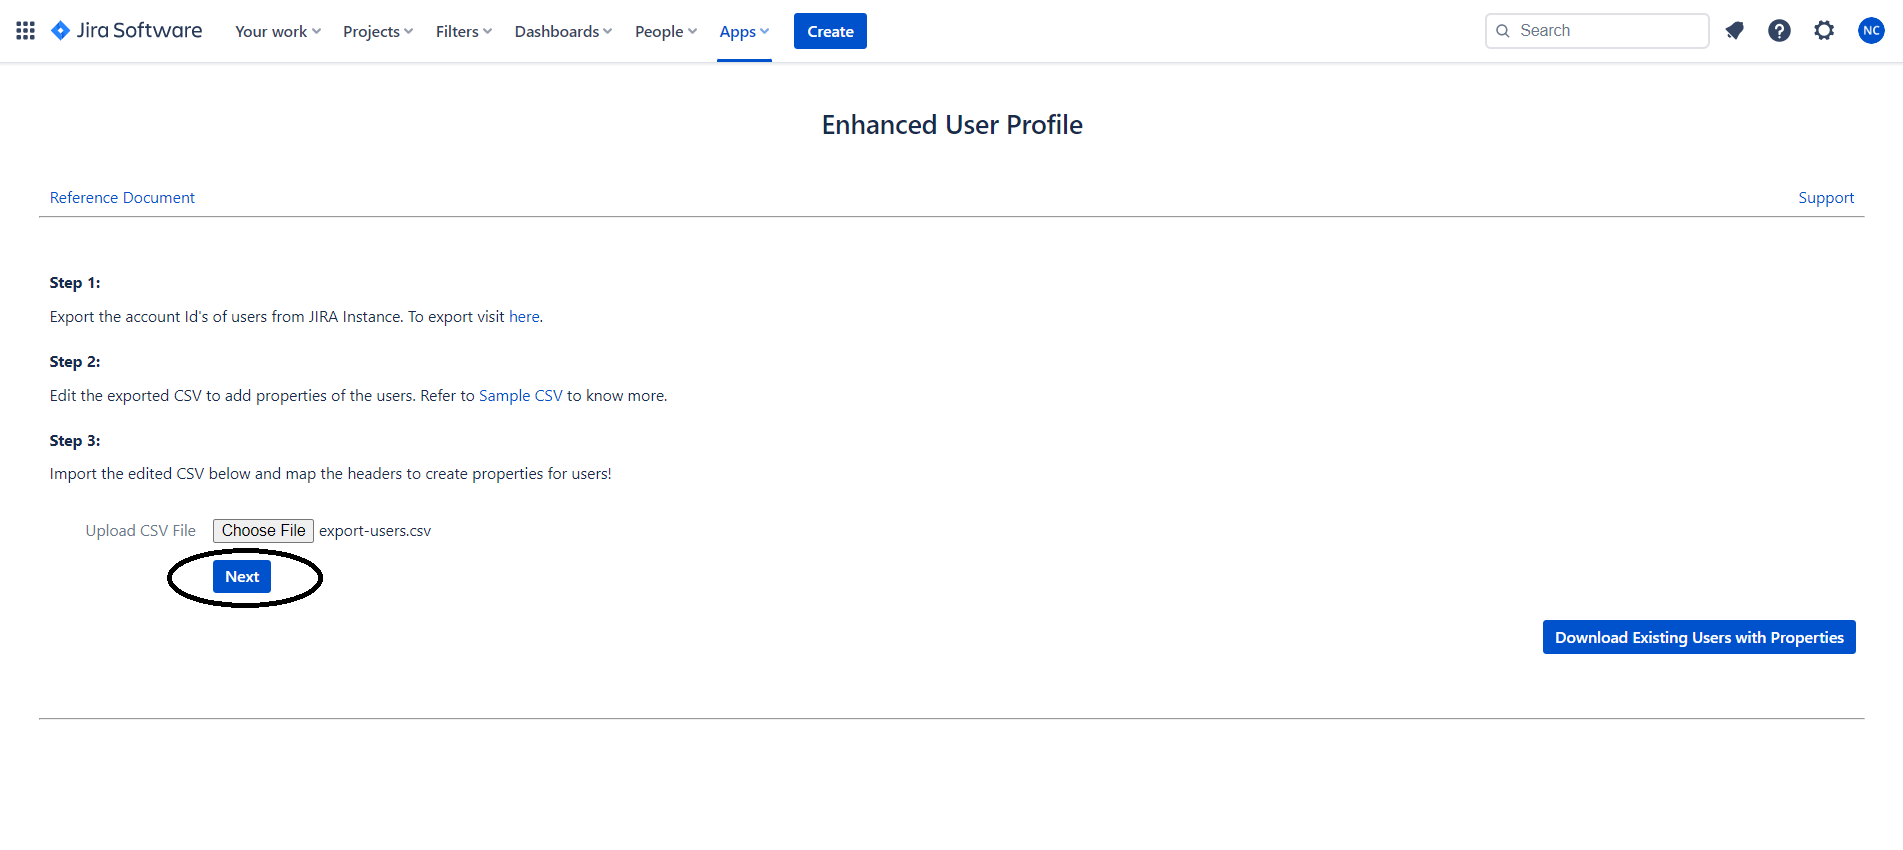
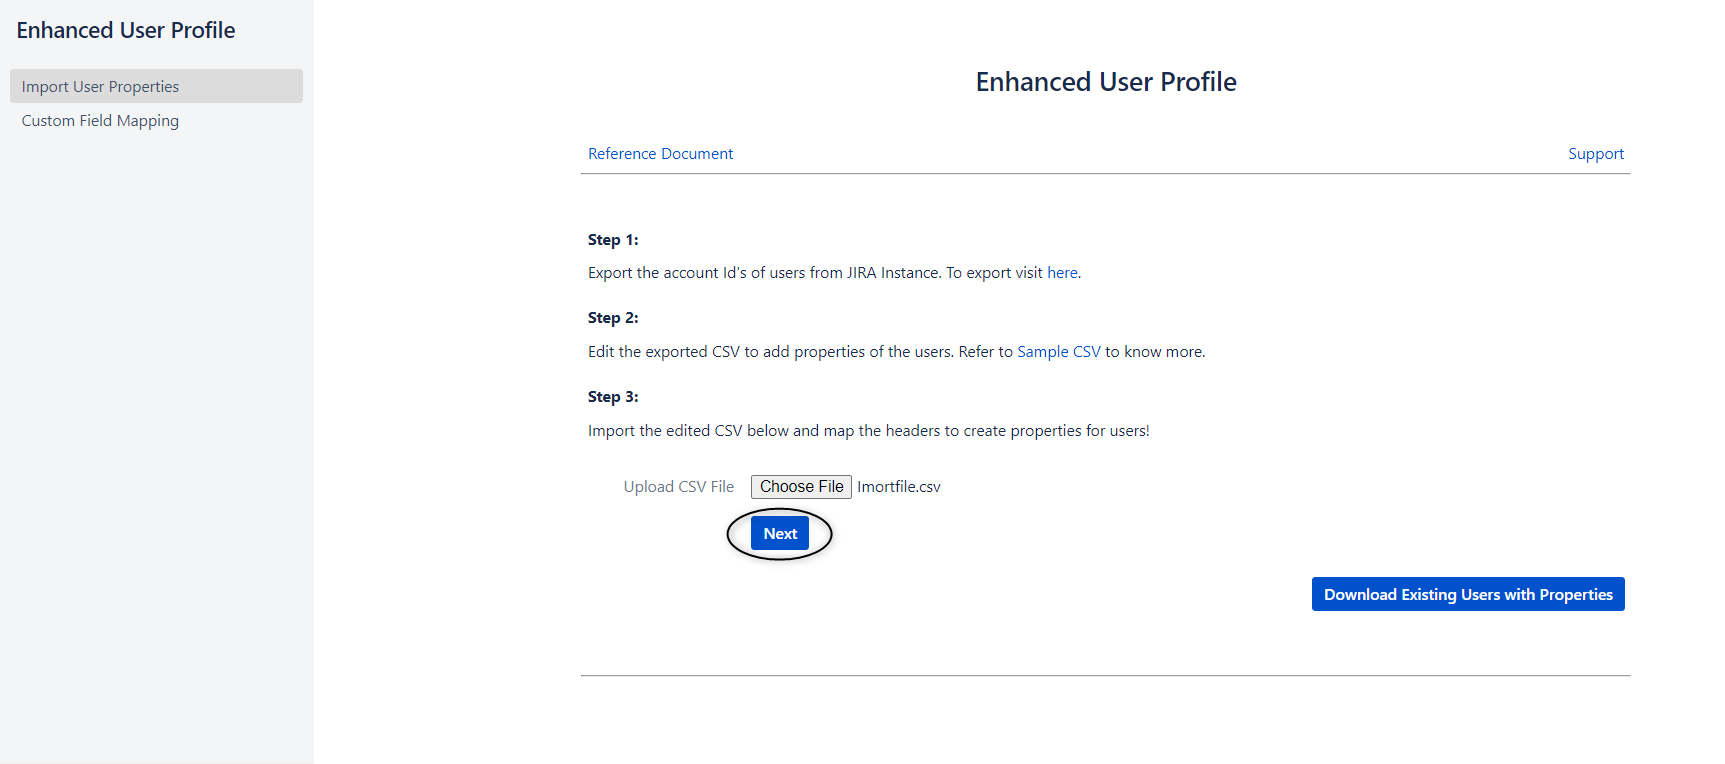
Step 6: Choose the file from the system and click on the “Next” button.
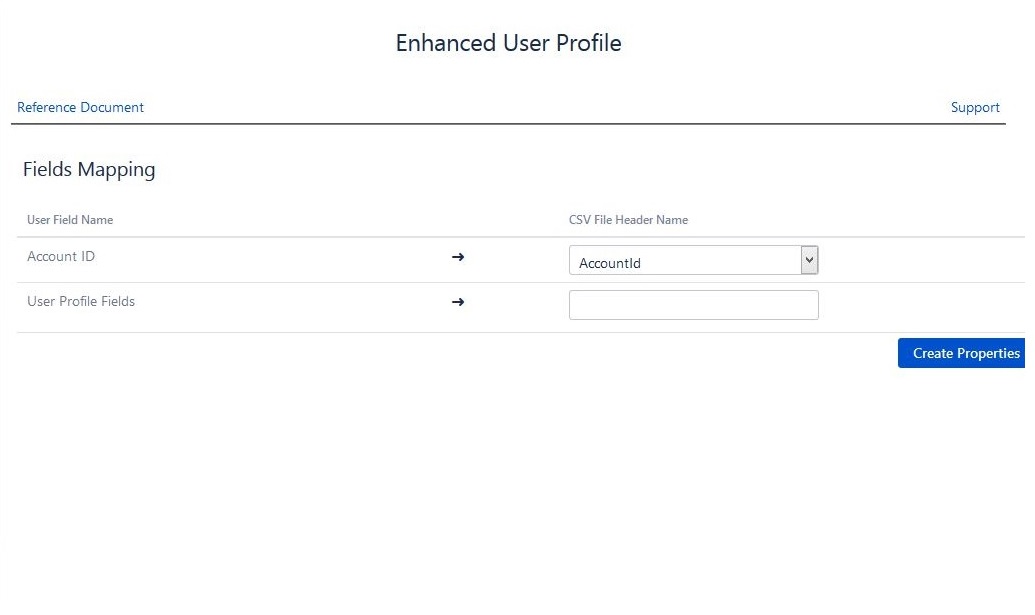
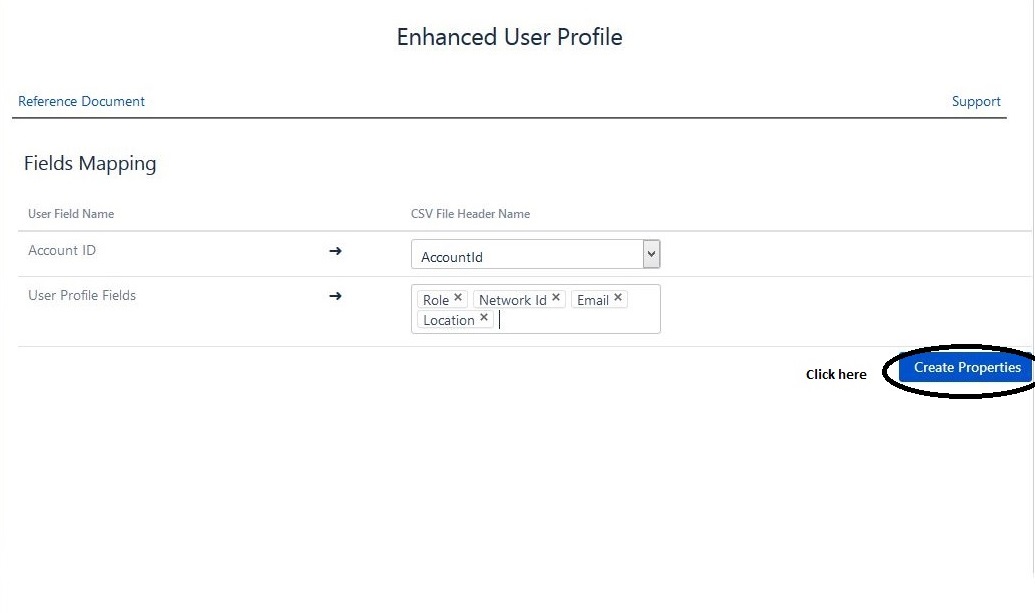
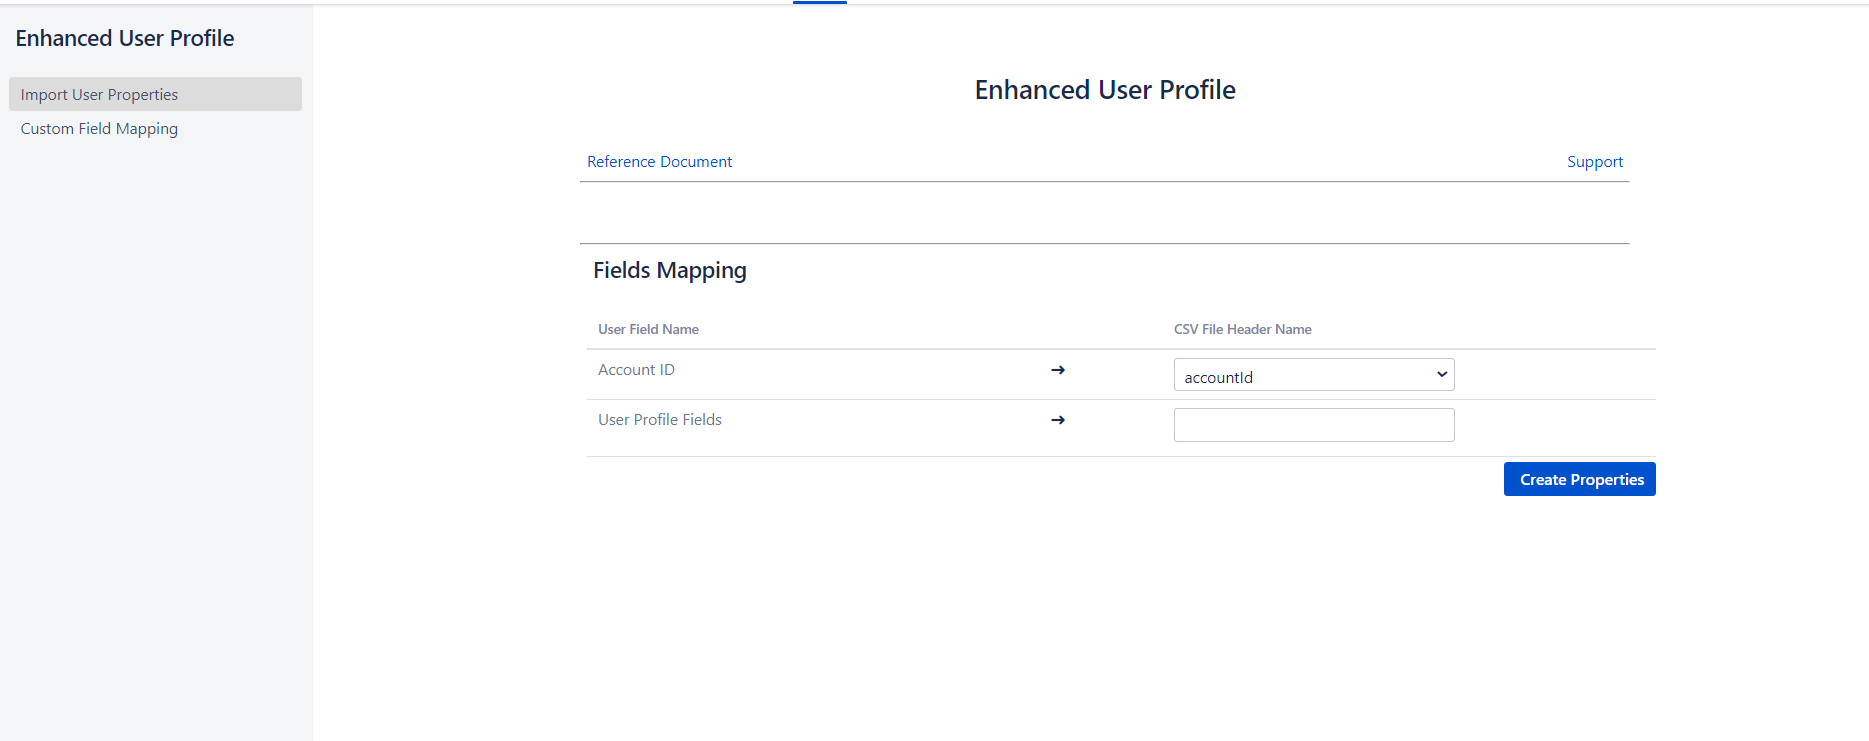
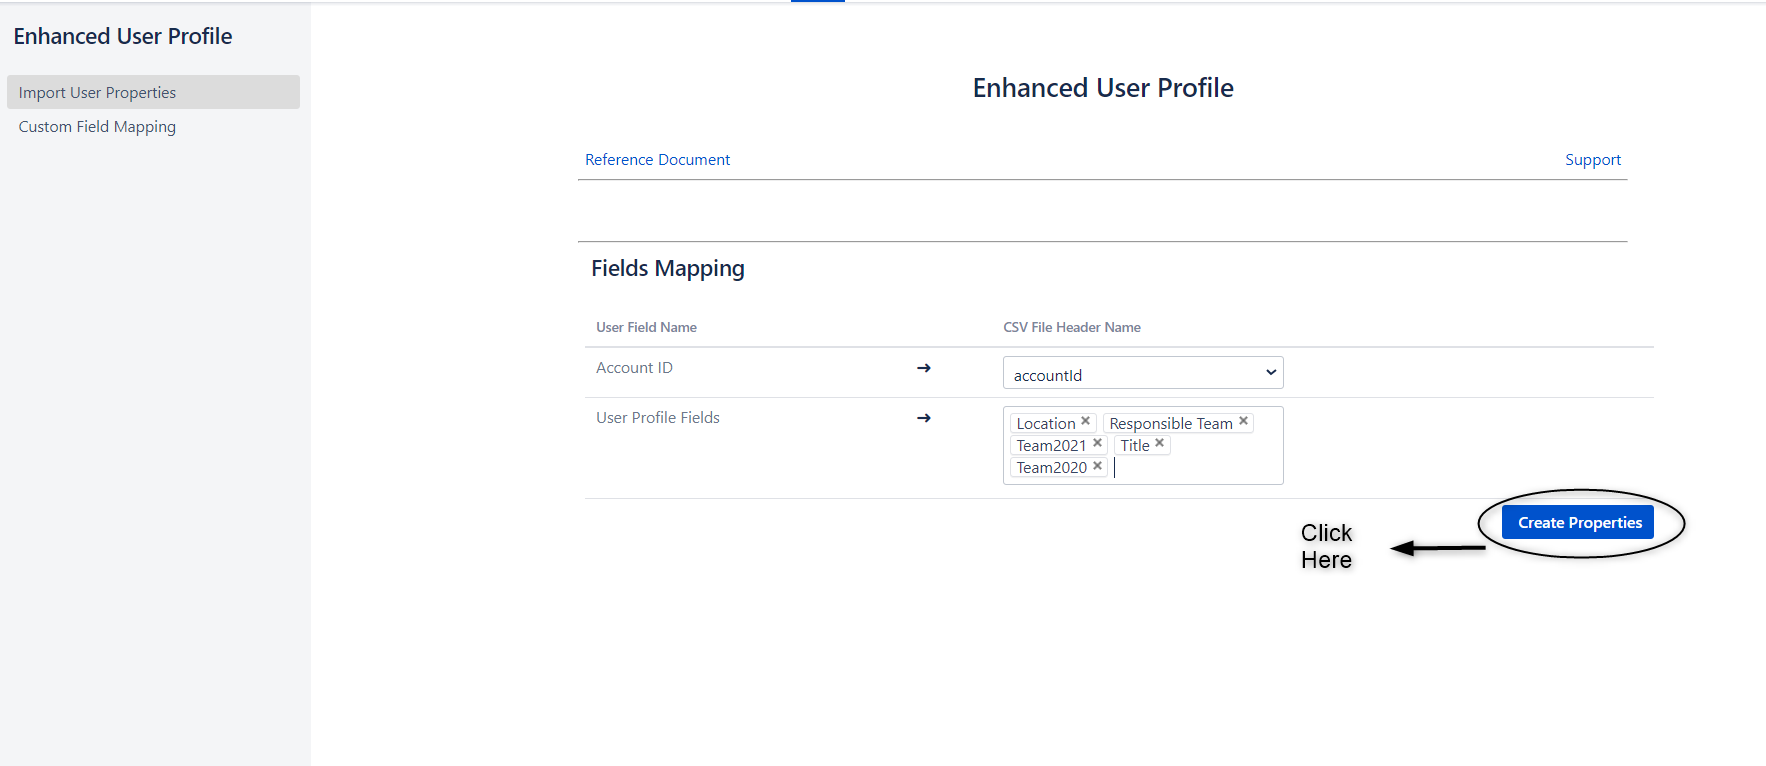
Step 7: Map the fields according to the CSV file and click the create properties
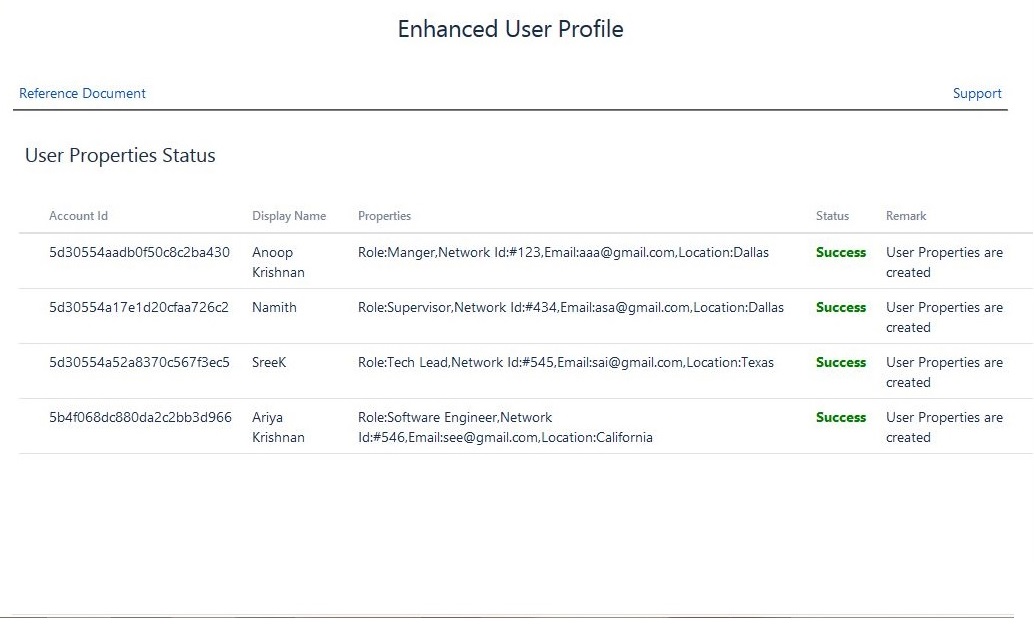
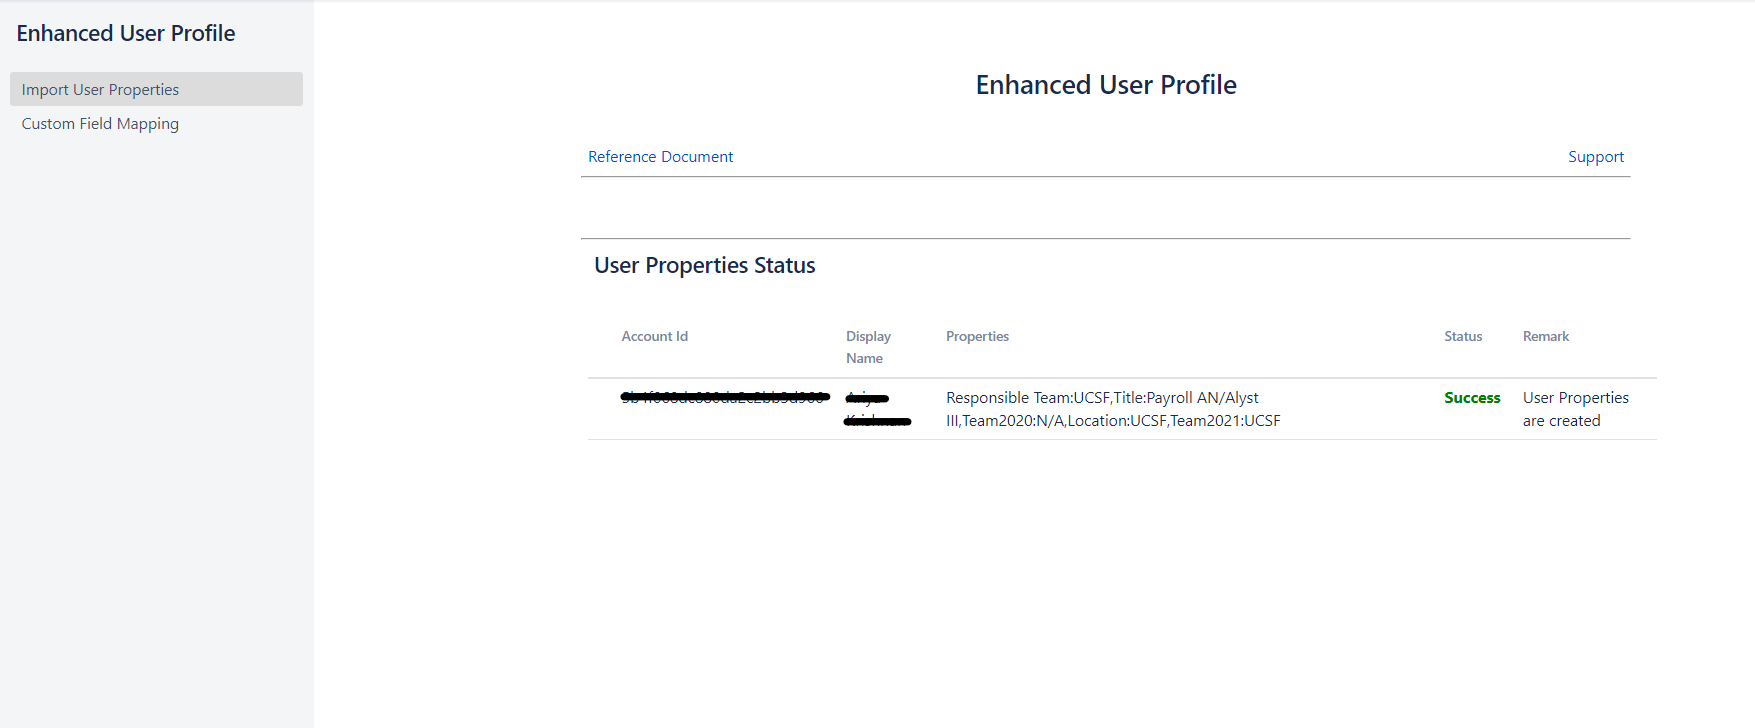
Step 8: The users are updated with the newly created properties and will display the status
5.Viewing the created properties in the Issue Viewer
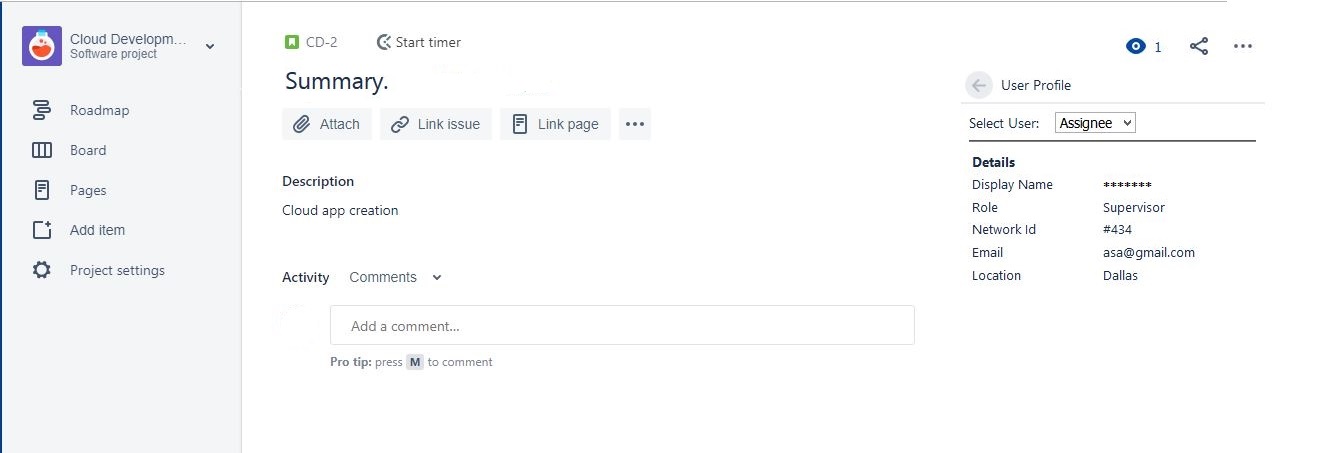
Step 1: The created user properties you can see it in the issue viewer

Step 2: The created user properties you can see it in the issue viewer for the assignee
Step 3: The created user properties you can see it in the issue viewer on change of reporter

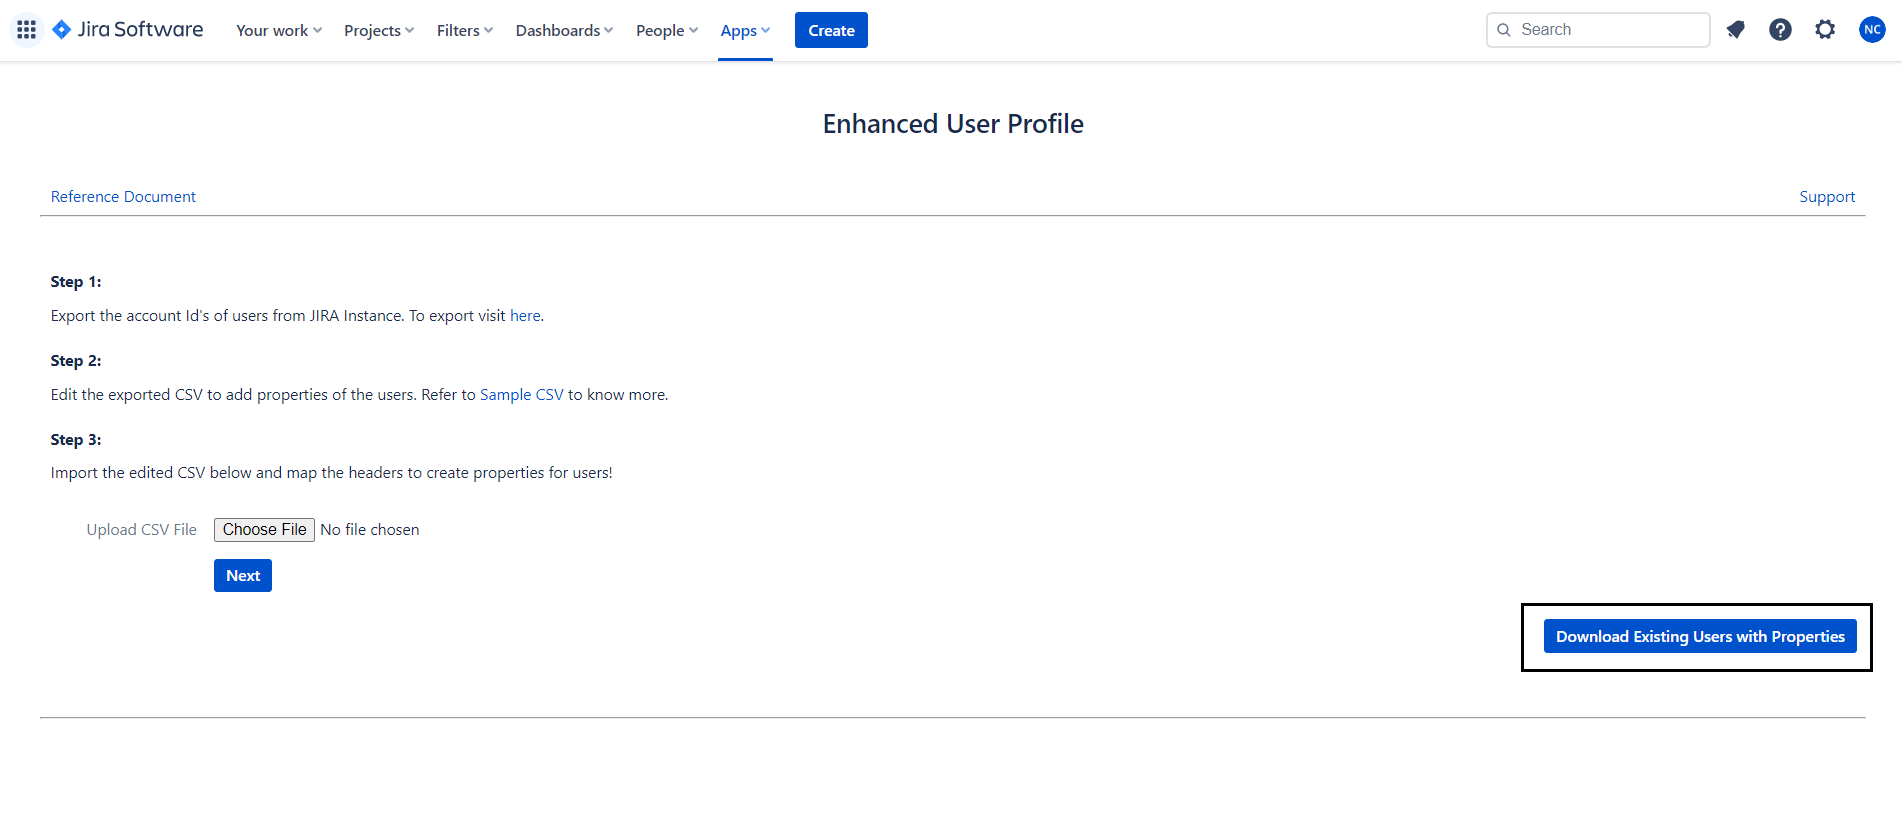
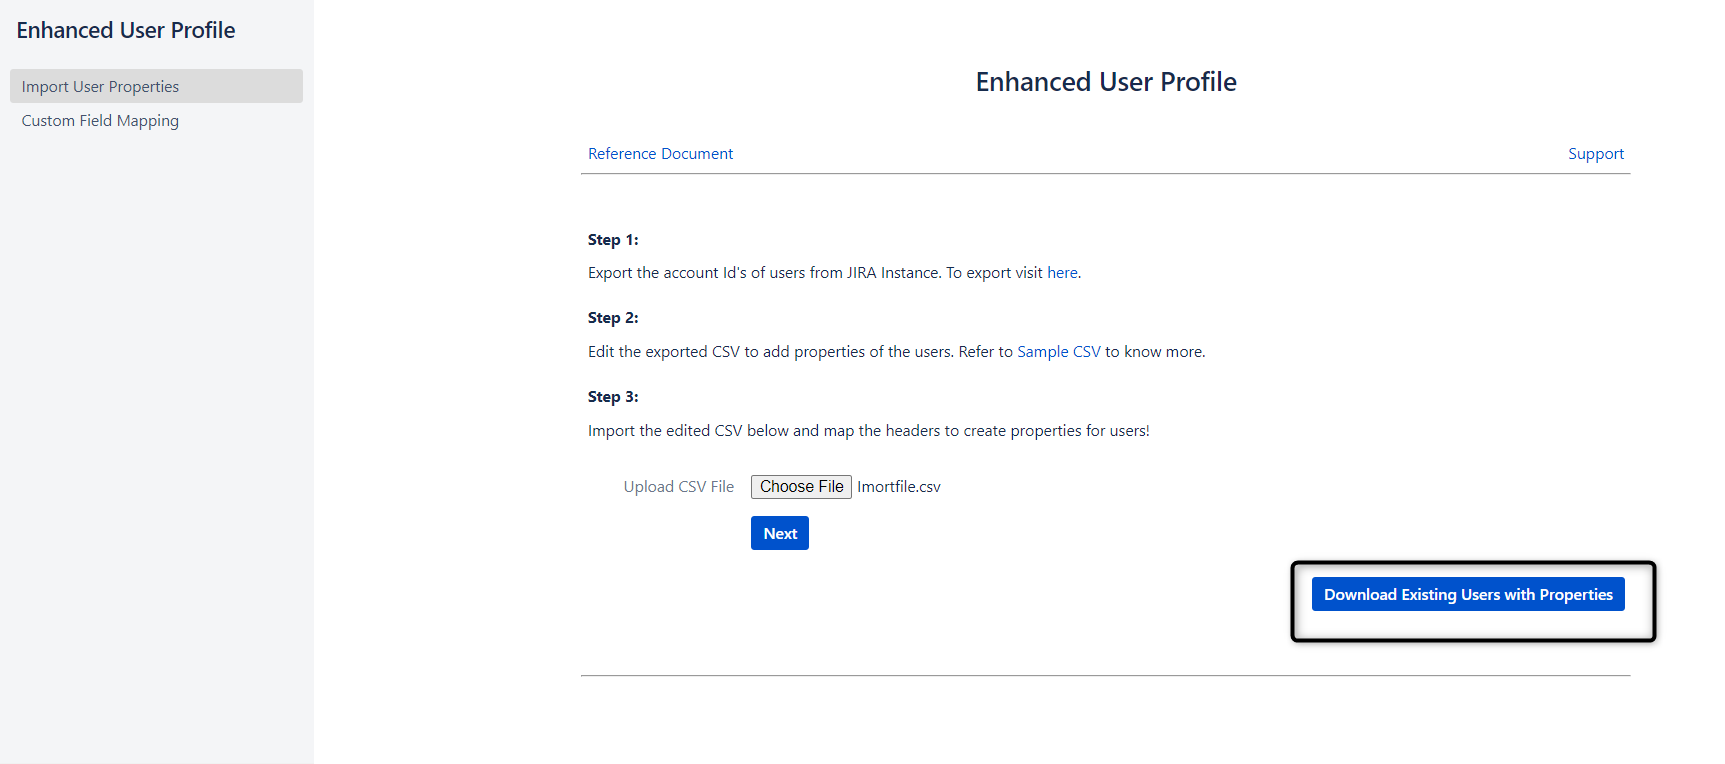
6.Download Existing Users List
We can download the existing users list with properties by clicking the "Download Existing Users with Properties" button.
1. Introduction
This Atlassian Marketplace App can be used to add additional profile details using CSV file. The added profile details can be viewed in issue viewer.
2. Application Installation
Step 1: Login as JIRA administrator
Step 2: Go to → Jira Settings → Apps → Find Apps
Step 3: Find the "Enhanced User Profile for Jira" and click "Try it free"
3.Exporting Users for Account Id to Create the CSV
Step 1: Go to Settings → User management
Step 2: Click the "Export Users" tab to export the users. It will export all the users with the details
4. Updating already existing users with properties
Step 1: Go to Jira Home → Click on Apps drop down -> Click on “Enhanced User Profile”
Step 2: The file has to be in a CSV format, there are two fields , Account Id and the properties which are going to be added to the user are required for creating the properties for the user

Step 3: Account Id of the users can be exported from the User Management page
Step 4: Sample CSV file (Refer this) Properties.csv
Step 5: If you are using any other language except English please save file as a CSV UTF-8(Comma delimited) format file.
Step 6: Choose the file from the system and click on the “Next” button.
Step 7: Map the fields according to the CSV file and click the create properties
Step 8: The users are updated with the newly created properties and will display the status
5.Viewing the created properties in the Issue Viewer
Step 1: The created user properties you can see it in the issue viewer
Step 2: The created user properties you can see it in the issue viewer for the assignee
Step 3: The created user properties you can see it in the issue viewer on change of reporter
6.Download Existing Users List
We can download the existing users list with properties by clicking the "Download Existing Users with Properties" button.
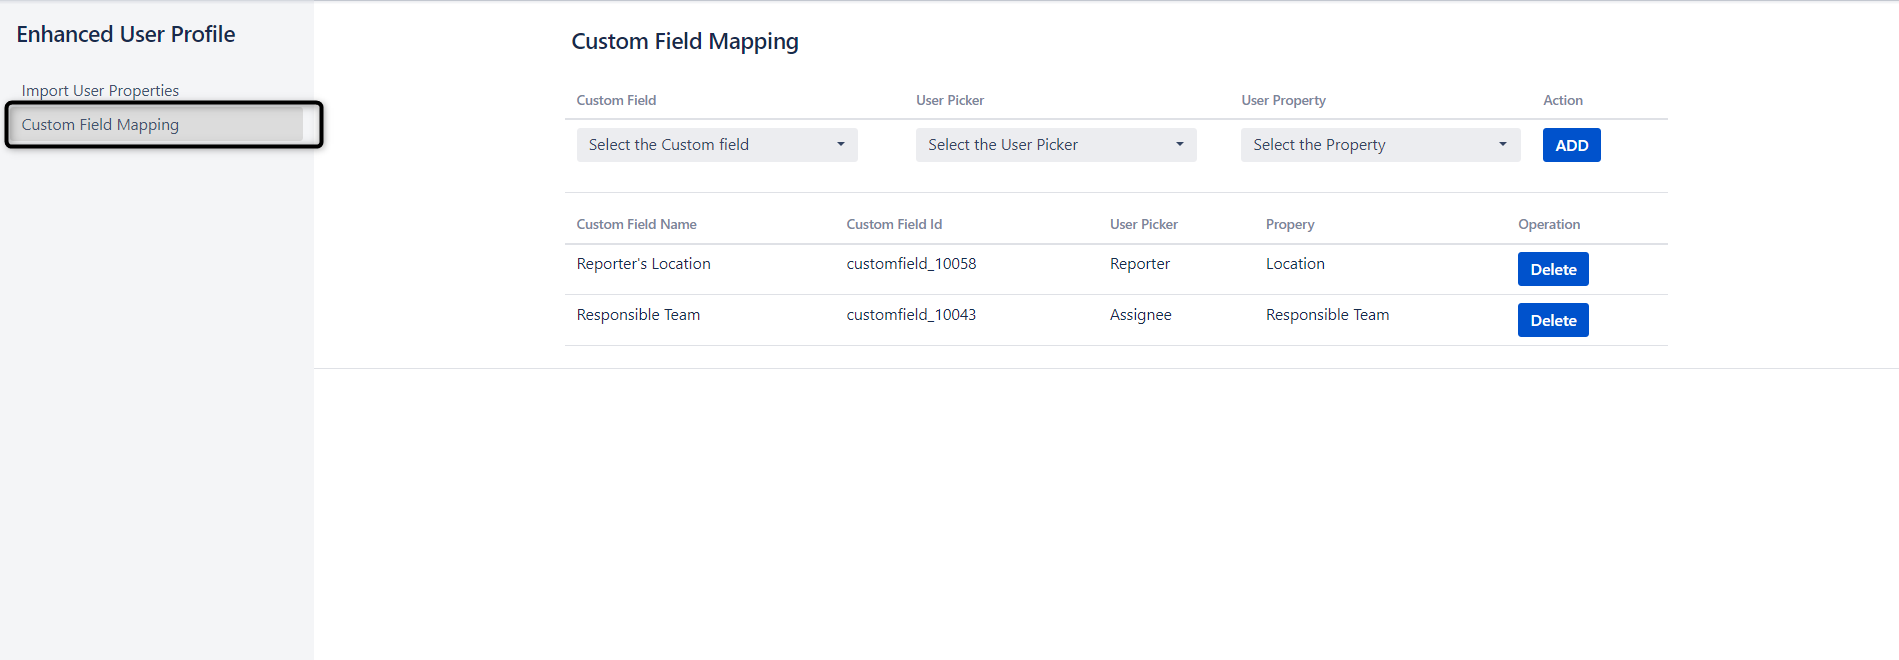
7.Configure Custom fields
Step1: Click on the 'Custom Field Mapping' tab as displayed in the user interface (UI). When you click on the 'Custom Field Mapping' tab, the UI will appear as shown in the image below.
Step 2: Custom Fields only support two types: single-select and text fields.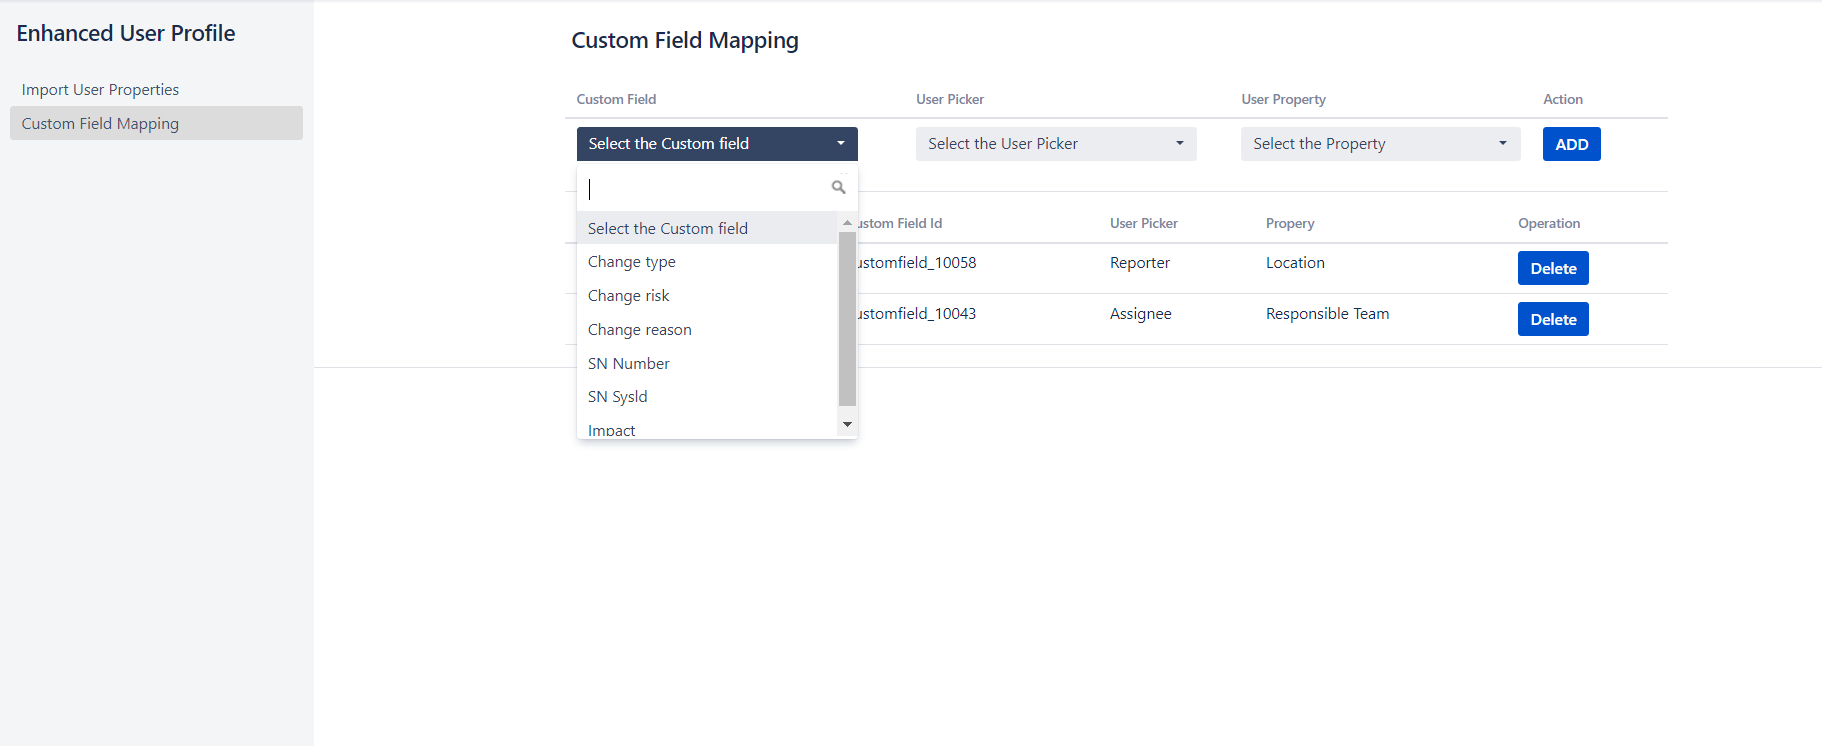
Step 3: Choose the Custom Field, User Picker(Assignee or Reporter) and User Property. After making your selection, click the 'Add' button.
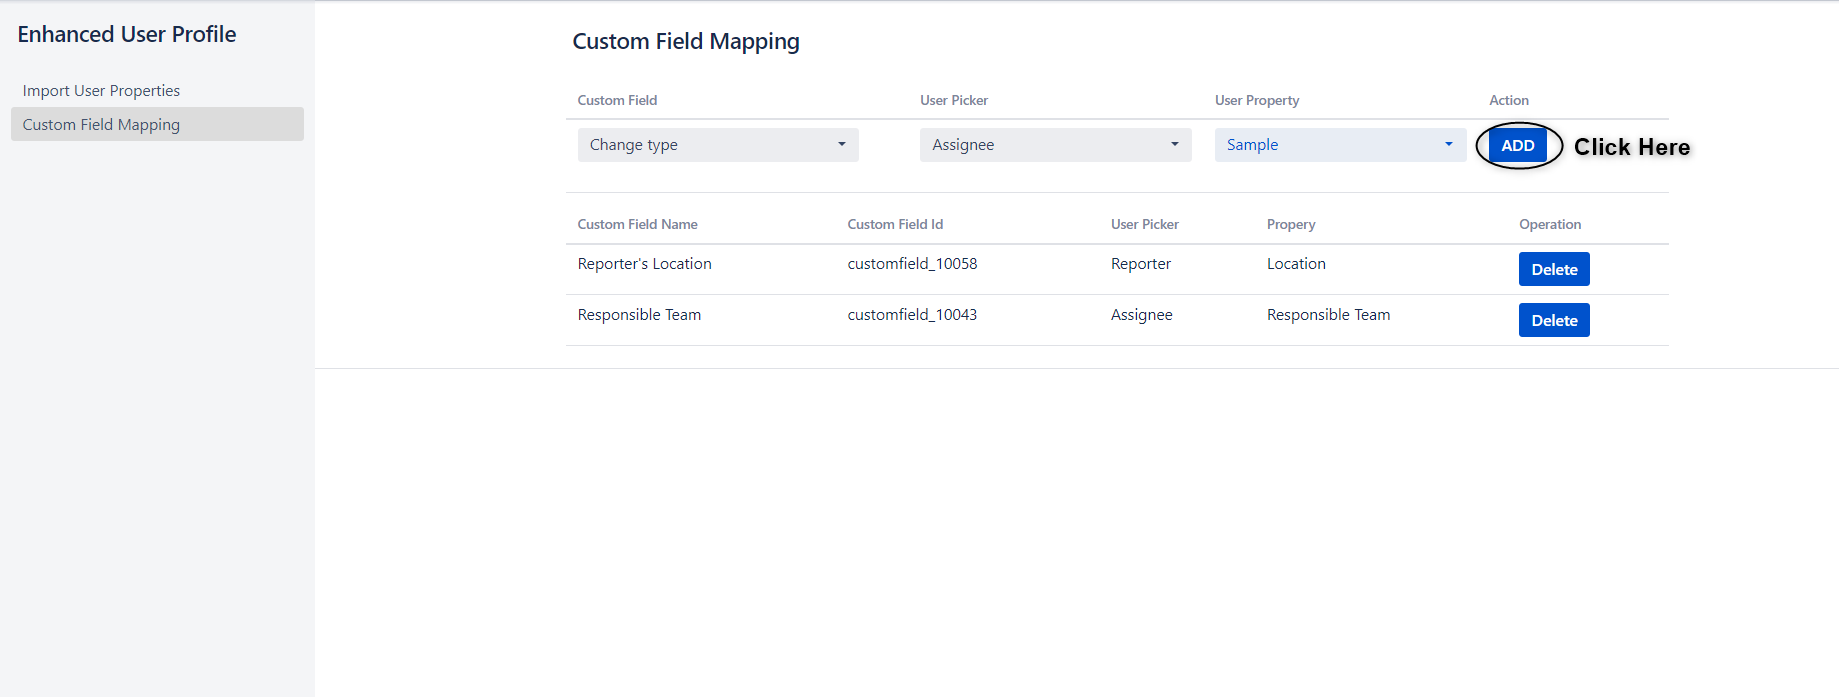
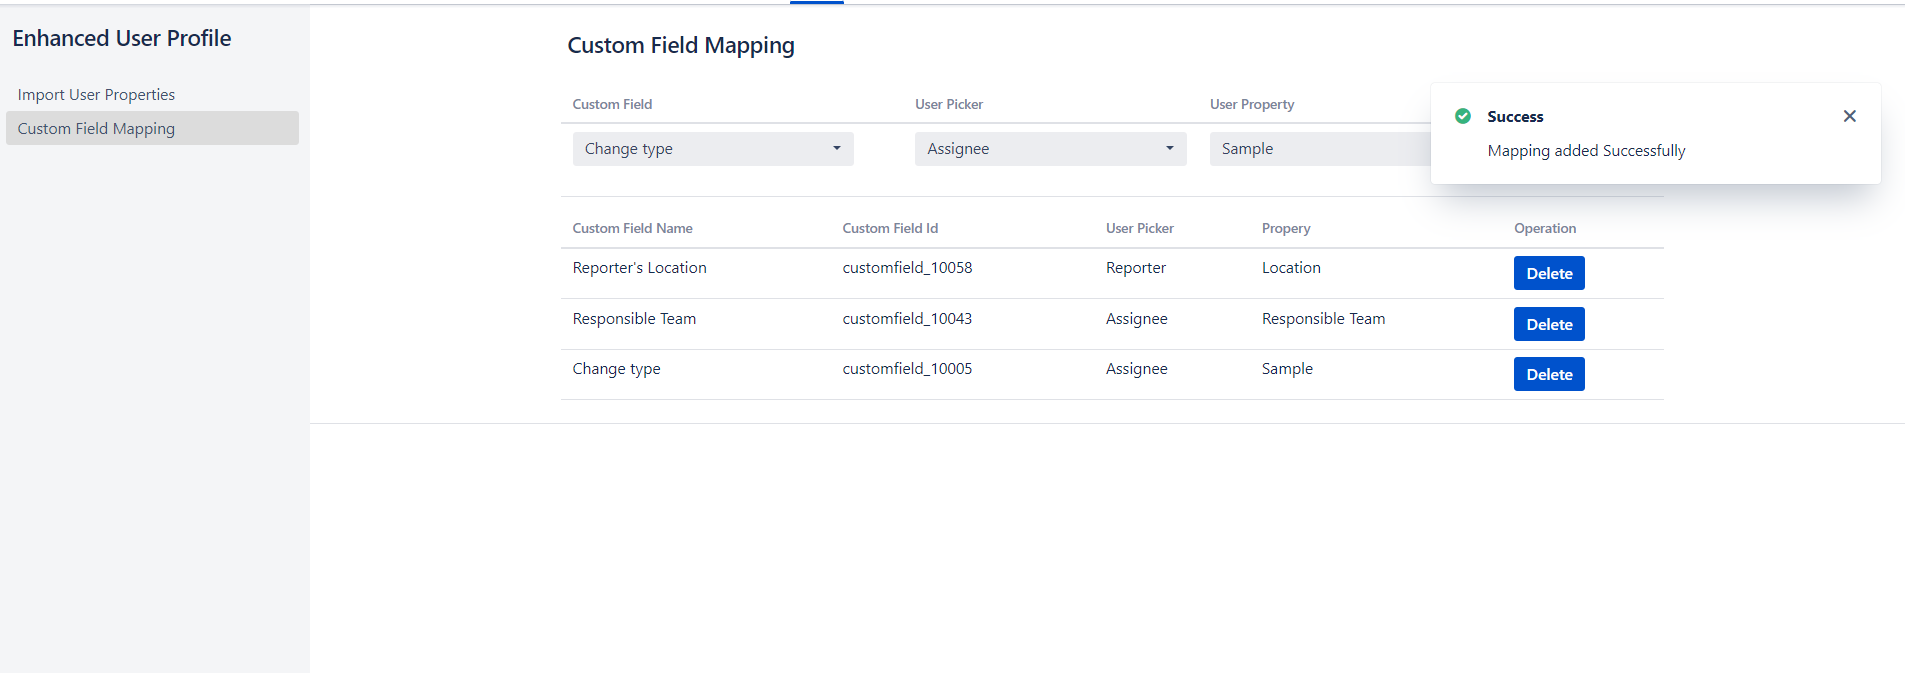
Step 4: After clicking the "Add" button, you will be able to view the custom field in the table, and you will receive a pop-up message confirming that the 'Mapping added Successfully'.
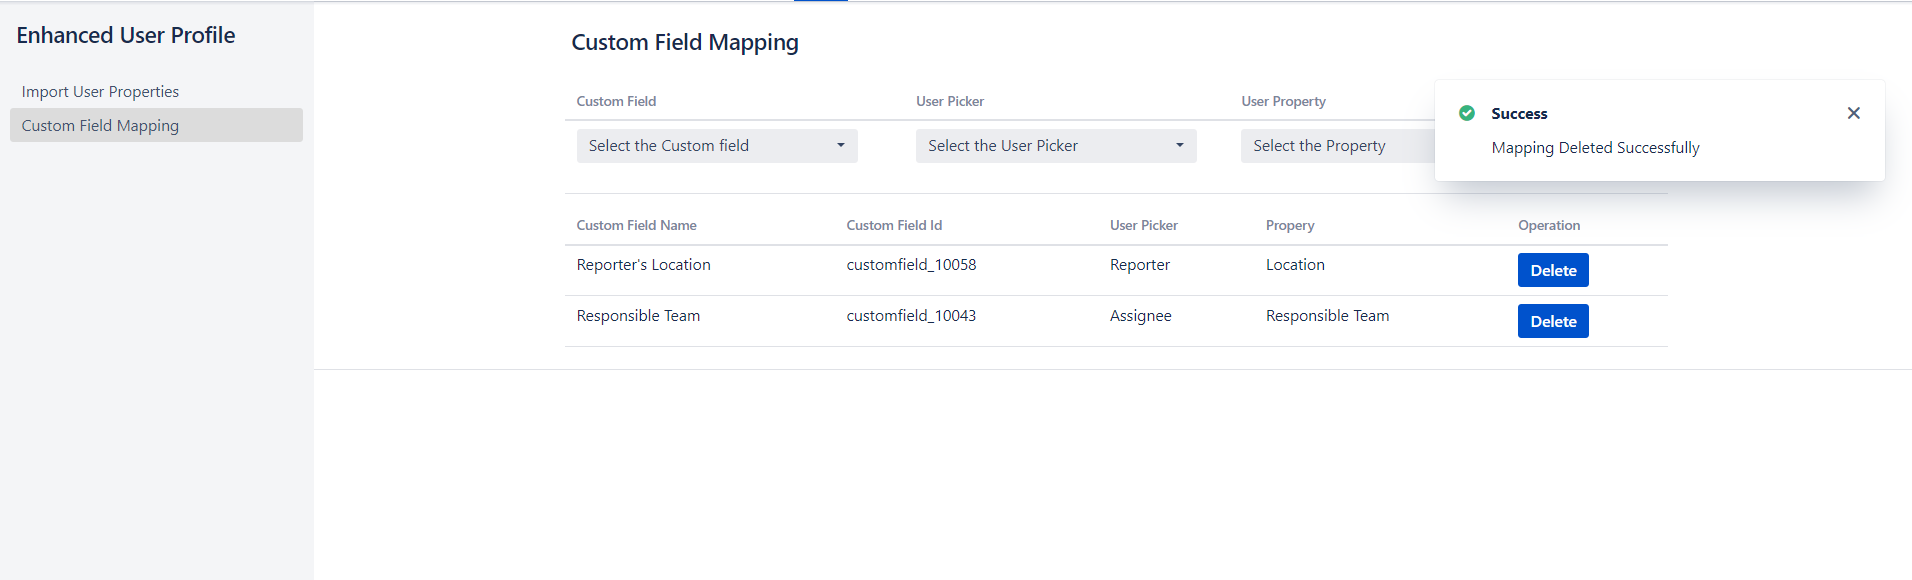
Step 5: You can delete a custom field mapping by clicking on the "Delete" button.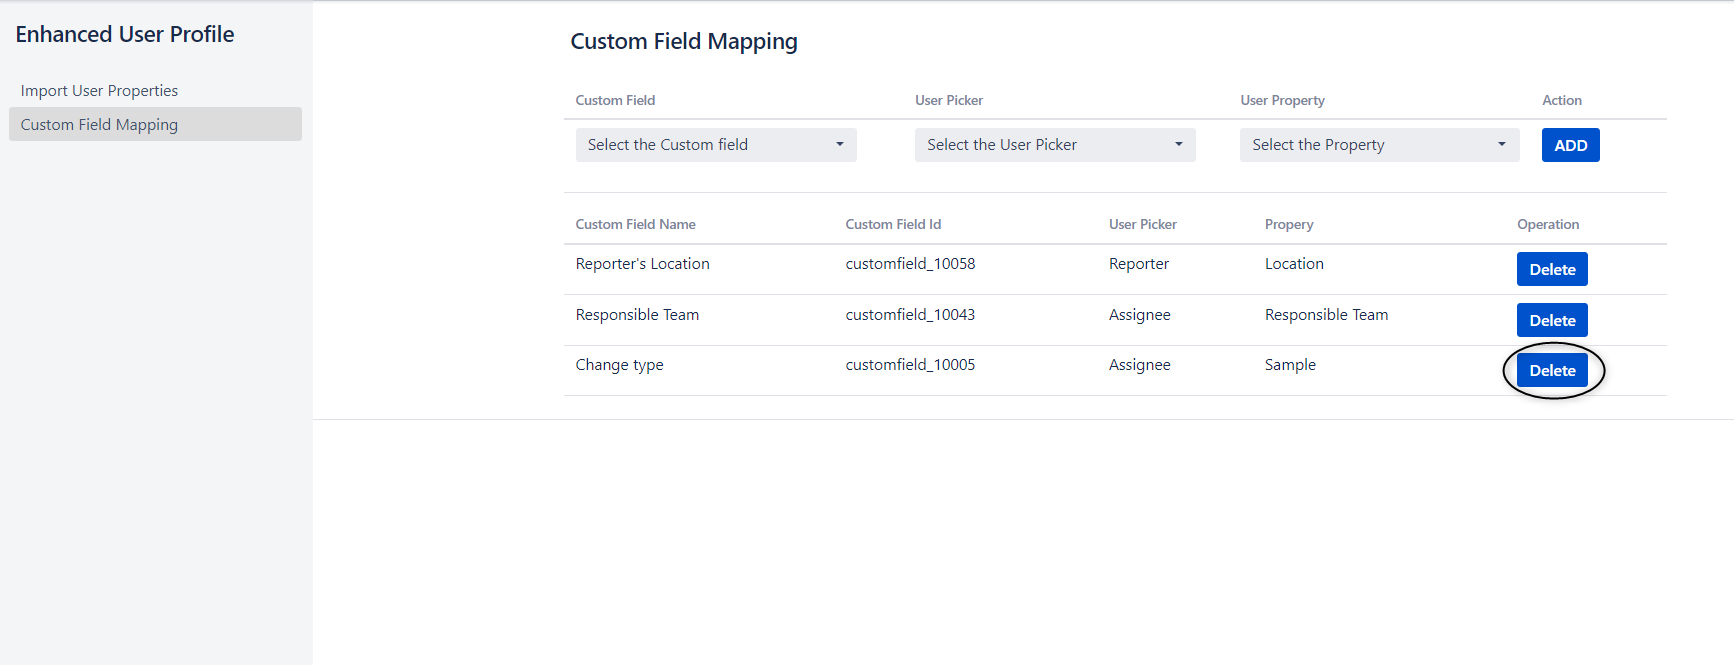
Step 6: Open Project → issues → Select assignee and Update issue.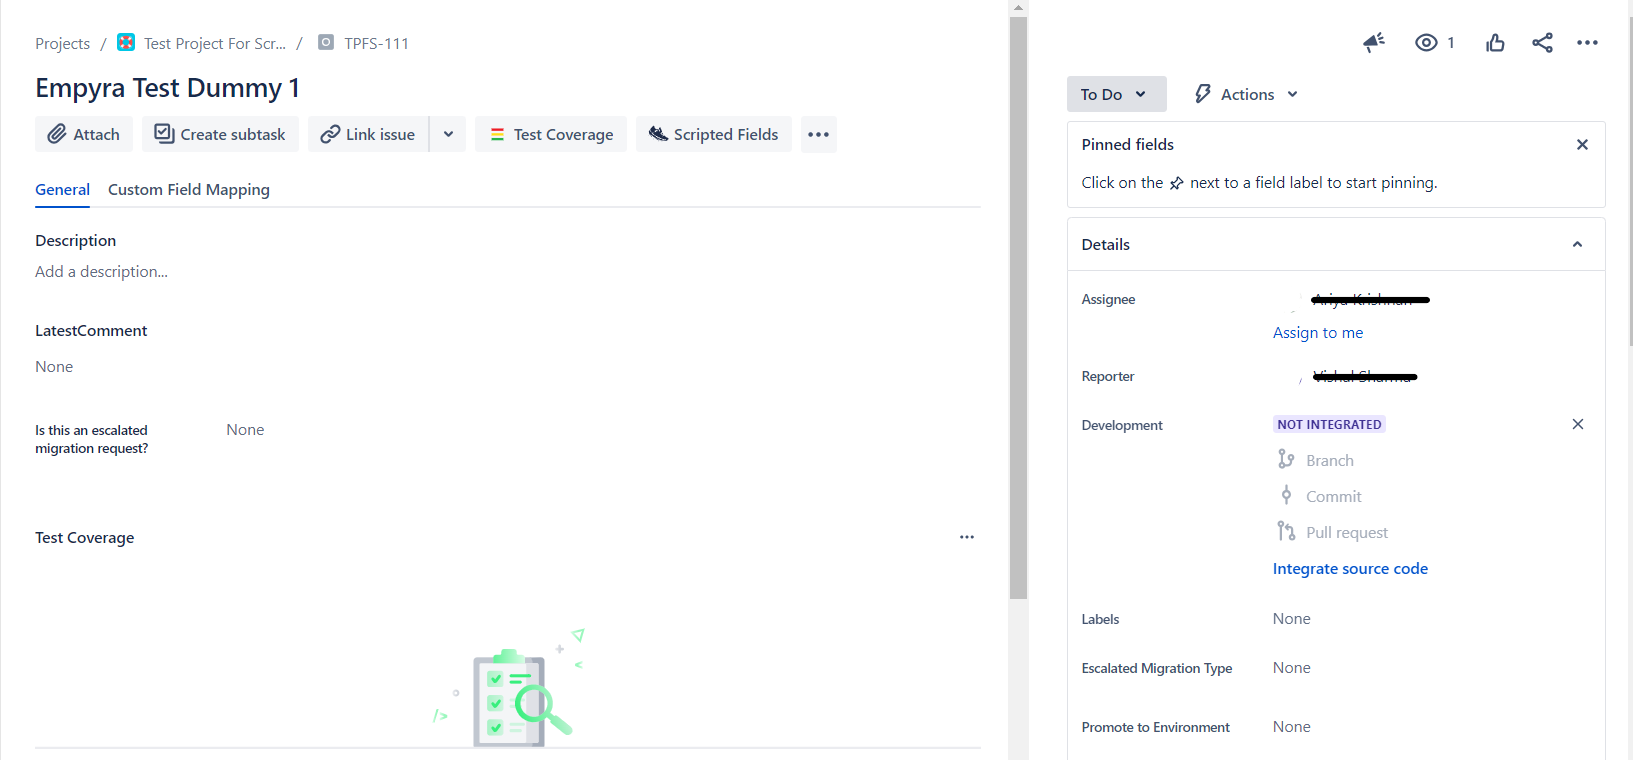
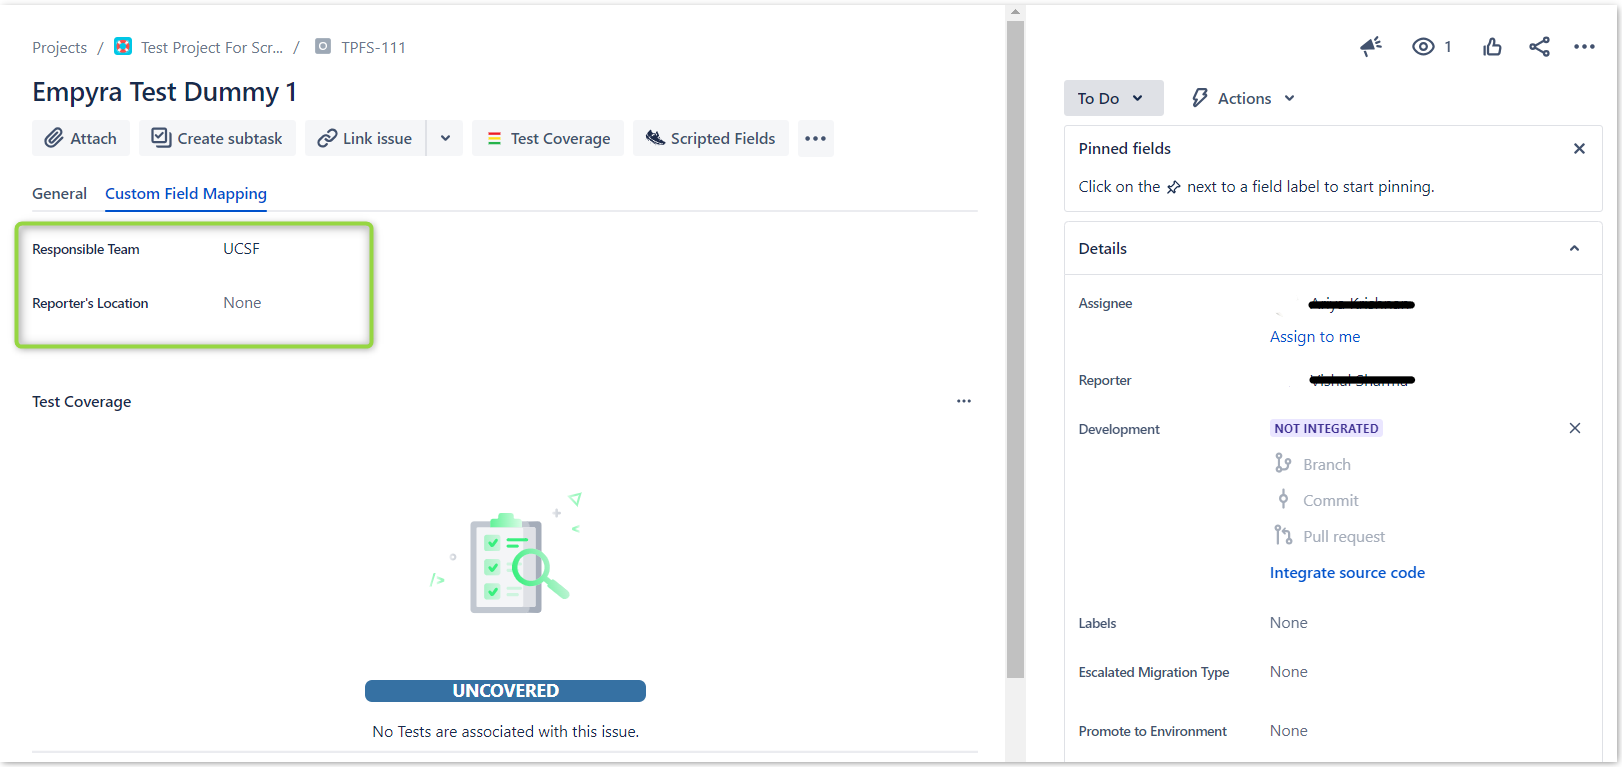
Step 7: You can view the property values of the assignee and reporter as per the mapping in the issue.
8.Attachments
The Username is added in this CSV is for understanding no need of using that in your original CSV file
| View file | ||||
|---|---|---|---|---|
|
9.Trial Version vs Active Subscription
Note for Trial Version:
- App has 30 days free trial period where users can try the app
- Users can access the full functionality of the app by purchasing the subscription
Menu
Table of Contents